
So, the original plan was to theme this project for St. Patrick's Day but after some thought, I know that many people don't really do cards give away things for this holiday. So...I'm calling this the shamrock card. The idea behind this card was more to show another use for a heart punch, beyond that of punching out hearts. Say you have a heart punch that you purchased for..oh, I don't know...a certain Valentine's craft. Perhaps some really cute Valentine boxes (wink, wink!). Now, you have a punch and your project is all made, what is something else that you can do with this thing? Well, this post gives you yet another (of many) things you can do with your heart paper punch. Let's get started...

Here is the list of basic supplies as pictured above:
~1 8.5"x11" piece of white cardstock
~2-3 pieces of coordinating scrapbook paper or cardstock
~1 paper trimmer
~Heart paper punch
~Adhesive of your choice
~1 glue pen (not pictured above)
~1 sentiment stamp with coordinating ink (you could also use a sticker or embellishment if that is what you prefer or have on hand)
The extras I chose use for my project include:
~Cuttlebug embossing machine and polka dot embossing folder
~3-D adhesive dots
~Cuttlebug embossing machine and polka dot embossing folder
~3-D adhesive dots
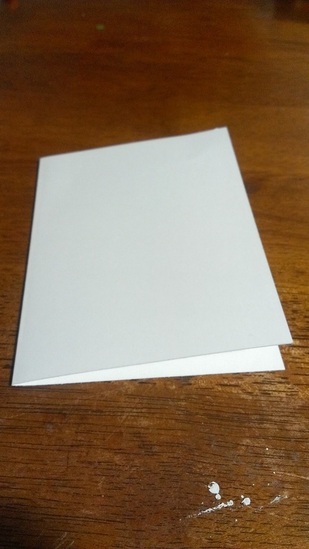
To begin; cut your piece of white cardstock in half width ways. This should give you a piece that is 5 1/2"x8". Now, go ahead and fold the card in half so that it looks as pictured above. This will be the base for your card.
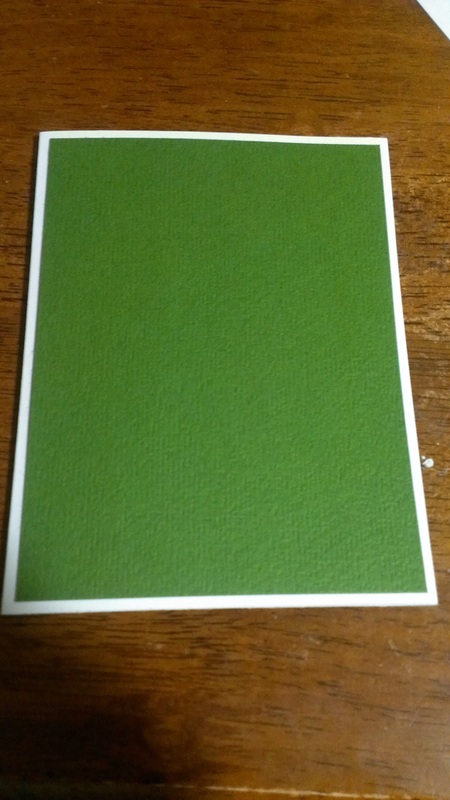
Now, cut out one of your coordinating piece of cardstock or scrapbook paper to be 1/8" smaller on all sides. To do this, simply trim off 1/4" off of one long side and one short side. You are essentially creating a mat effect just as you would for a wall picture. I chose to use my sold green but you could absolutely use a print for this. Just be sure that you balance out your prints and solids so that your design is not too busy. Adhere this piece to your base so that it looks as pictured above.

Next, you are going to mount your next choice of paper the same way as you did the previous one, making sure that this one is 1/8" small than the previous piece. After it is cut, adhere it to the first mat. Now that you have your template done, comes the fun part...embellishing it!

At this point, I decided to add some texture to the bottom layer of my shamrock by embossing it with my Cuttlebug machine. I just bought this thing and I am absolutely in love with it! You can certainly skip this part if you don't have one or don't want to do it. You could also purchase cardstock that is already textured in some way or has the appearance of texture. There are many ways to get texture into your design without breaking the scrapbooking budget!

Just wanted to show the before and after of what adding the texture to your paper really does to cardstock. Have I meantioned that I'm in love with my Cuttlebug?
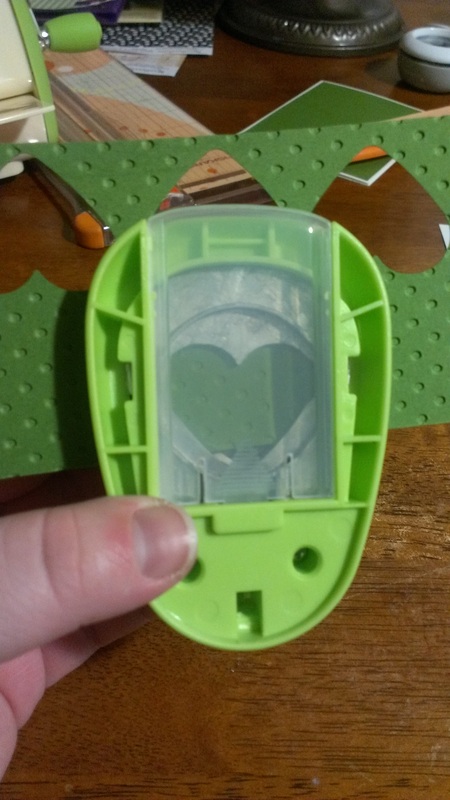
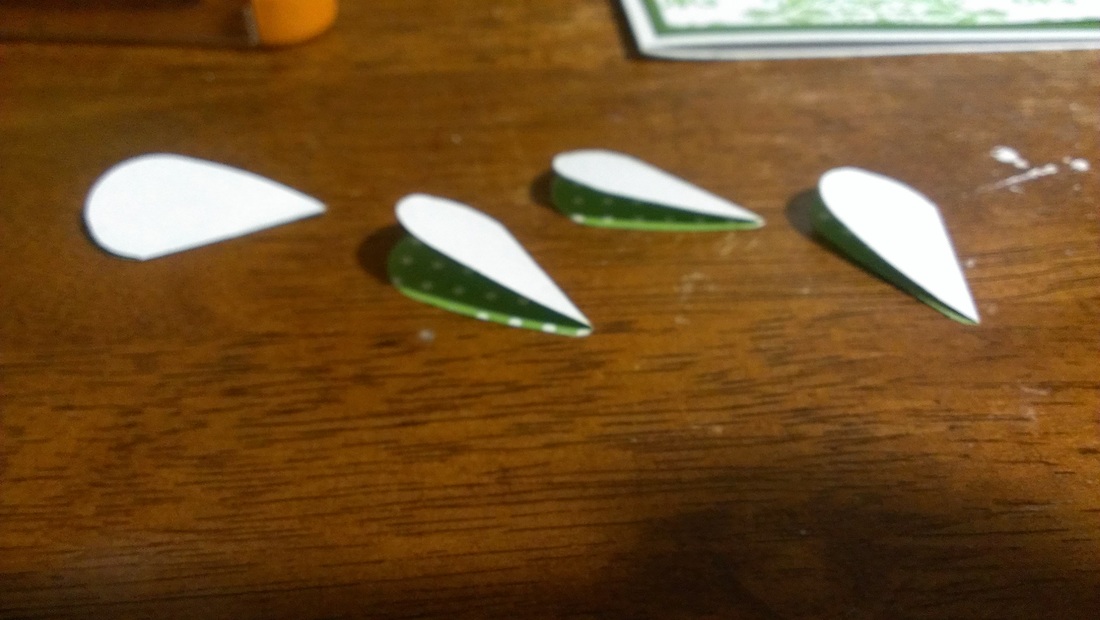
Time to punch out your shamrock leaves. If you've never used a punch, they are super simple...just flip it over so you can see where on the paper you are punching and push down on the lever. Now, repeat 4 times so that you clover is a lucky 4-leaf clover! Notice that my papers alternate between solid and pattern so that the finished card isn't too overpowering or too boring. Just a thought!
Arrange the leaves how you would like them on your card front. I chose to place mine a little off center and higher up to allow for room for the stem and my sentiment at the bottom. But, feel free to experiment with placement before sticking them down.
Now, punch out 4 more hearts from a patterned paper. I chose a different print than what my top mat was so that they would stand out easier and not blend in. This pattern is a simple polka dot so as to be different but not so much that it is too busy.
After you have punched out the next 4 hearts, fold them in half length ways as shown above.
After you have punched out the next 4 hearts, fold them in half length ways as shown above.
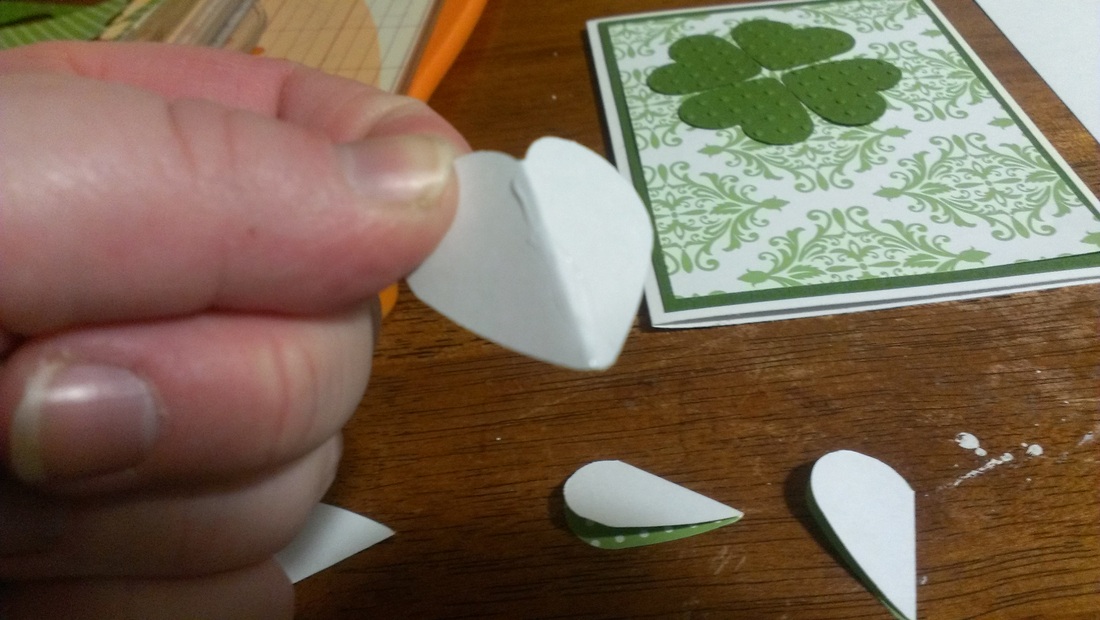
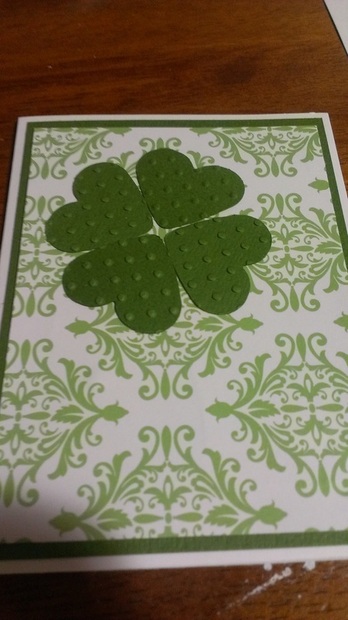
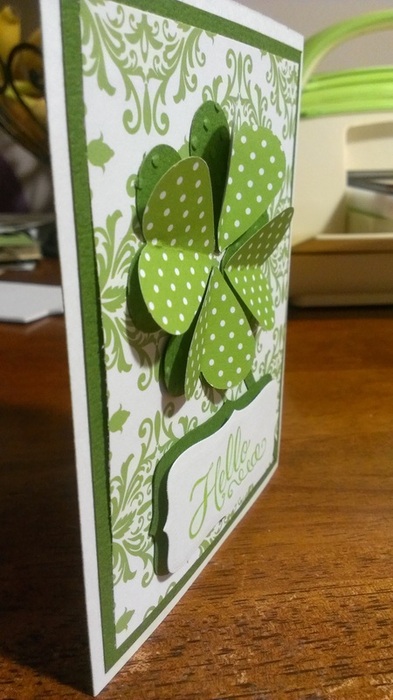
Add a dab of glue along this fold, being careful to not get it on the sides. We want the middle adhered only, the sides of the "leaves" will be folded up and giving your card a 3-D effect. Adhere all 4 of your hearts directly on top of the other ones. After the glue has had a few minutes to dry, pull up on the sides of your shamrock leaves to give them the 3-D look.
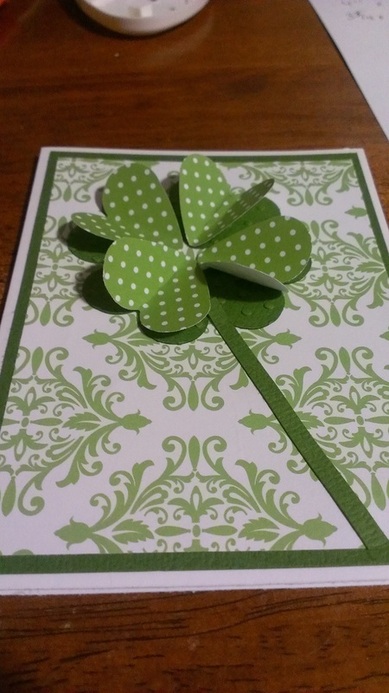
To add a stem, all you do is cut a small, approximately 1/8" strip of paper that matches the first layer of leaves. Use your glue pen to adhere this down. I started my stem almost at the center of my shamrock to make it easier to hide. Trim the stem where it meets the coordinating mat at the bottom.
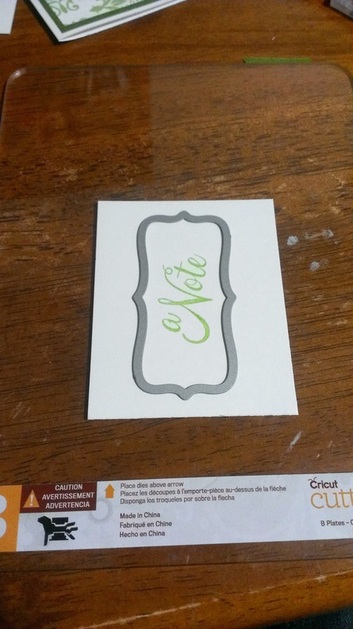
For my sentiment, I chose a simple saying that I stamped in matching green ink and cut out using a die with my Cuttlebug machine; but you can certainly use what you have on hand! I would have loved this card to say "good luck" but I didn't have that stamp, so I made one that said "a note" and the first one said "hello". After cutting out my sentiment, I mounted it on my green cardstock with 3-D adhesive dots to give it some dimension. Then I freehand cut out the border just slightly bigger than the s
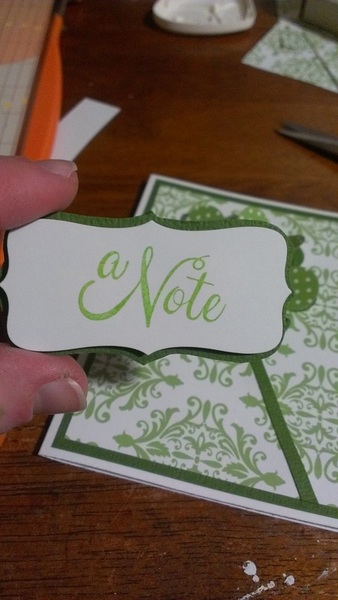
Above is my finished sentiment. Yup, it's not perfect. But if you wanted perfect then we could have just bought a card from the store, right? Now, stick that sucker down and your card is finished!
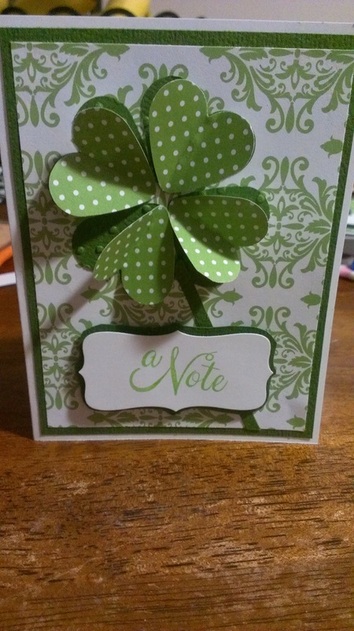
Enjoy your handiwork! Making your own cards is so gratifying. Not only is it fun, but people know that you really cared to take the time and make something rather than buy it at the store. Anyone can buy one, and now anyone can make one!
This project is a great way to get another use out of a punch. This is also a great way to use up scraps that you may have lying around from other projects. Have fun with it...who says that it has to be green? Or have four leaves? No one. Experiment and come up with your own color palette if you choose. Papercrafting does not have to be hard or intimidating. You just need a few basic supplies to create your own works of art!
Until next week, folks!
Craft on!

 RSS Feed