To say that it has been a crazy couple of weeks would be an understatement. With working 2 jobs, school and kids, it's been really tough to find time to get everything in that I need to. I didn't help matters at all when my internet went out for almost 2 days starting Saturday night. But, I'm finally able to post the tutorial for the flower pot card. Enjoy!...

I love how this card makes it look like you've spent forever making it but it is actually very easy and doesn't take much time at all!
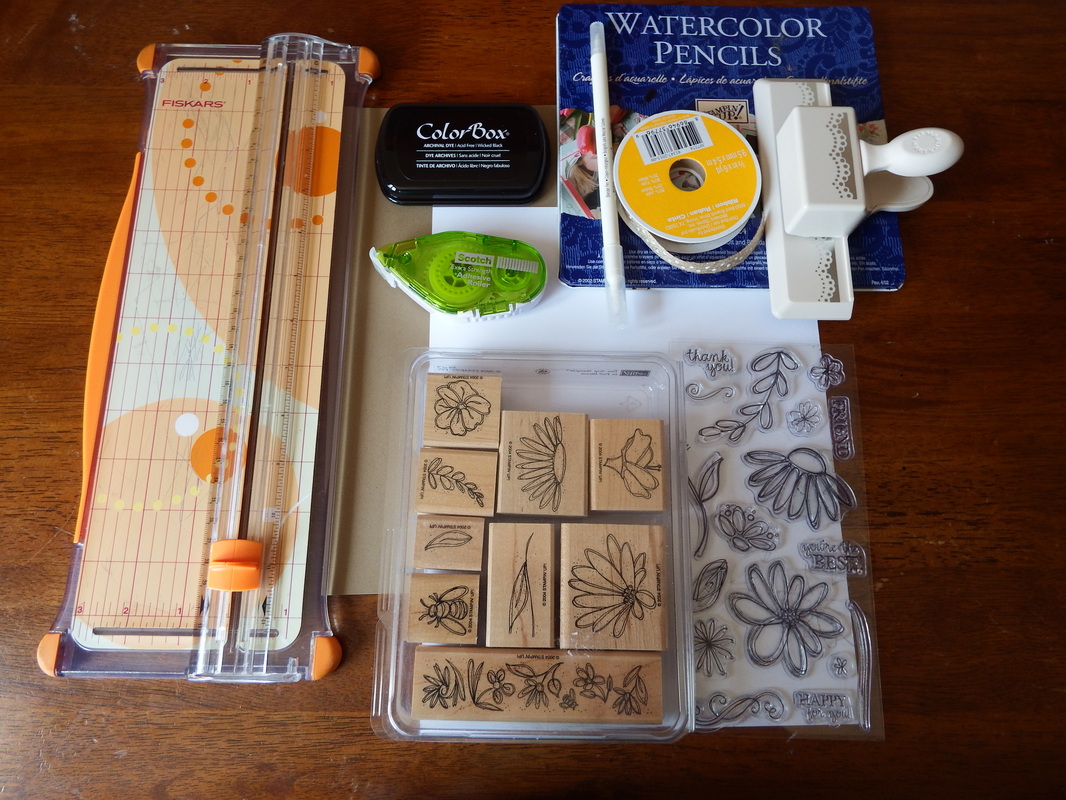
Supplies you will need:
1. 1 sheet of 8 1/2" x 11" Kraft colored card stock. Or whatever you would like to use for your pot.
2. 1 sheet of white or lighter, coordinating cardstock. It does need to be light enough that you can write on it and still be able to read it.
3. Paper trimmer
4. Adhesive
5. Coordinating ribbon
6. Flowers...whether you stamp them, punch them, cut them out, or use dimensional stickers. I chose to stamp and color mine.
Optional supplies that I used:
1. Flower stamps
2. Black ink pad
3. Border punch. Mine is a Martha Stewart doily edge punch. I love this particular punch and use it a lot!
4. Watercolor pencils and blender pen
5. Vellum (not pictured)
6. Scoring board (you could also use your trimmer with or without a scoring blade)
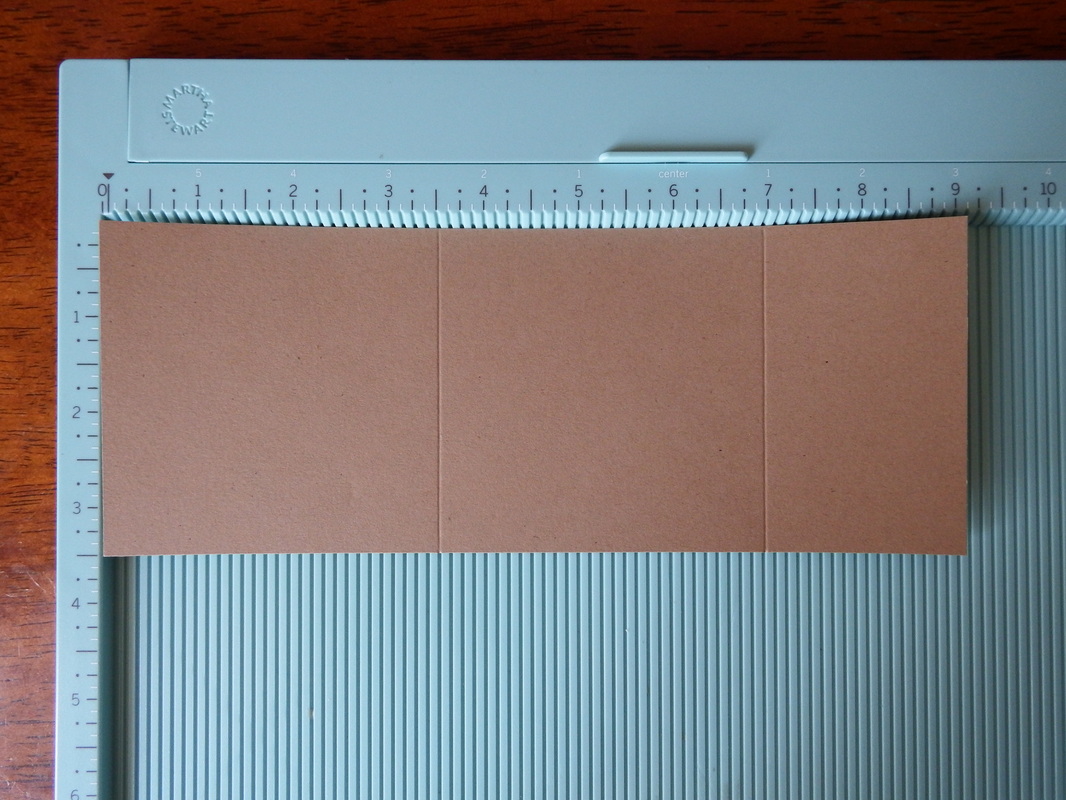
Begin by cutting your cardstock chosen for the pot to 3 1/2" x 9". After you have your piece of cardstock cut, score as shown above at 3 1/2" and 7". If you don't have a scoring board, you can always use a scoring blade in your trimmer, or simply run the writing end of a mechanical pencil (without lead) in the blade well of your trimmer. Give just enough pressure to score the cardstock but not as to make a hole. I use my board a lot, so for me the investment makes sense, but you certainly don't need to purchase one just to do this project.
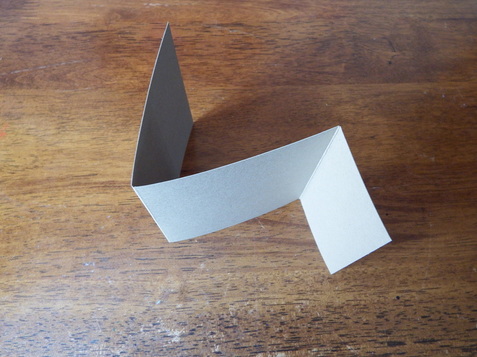
Next, go ahead and fold your cardstock on the score lines so it looks like the one above. There should be a smaller piece in front. You will be working on this piece in the next step.
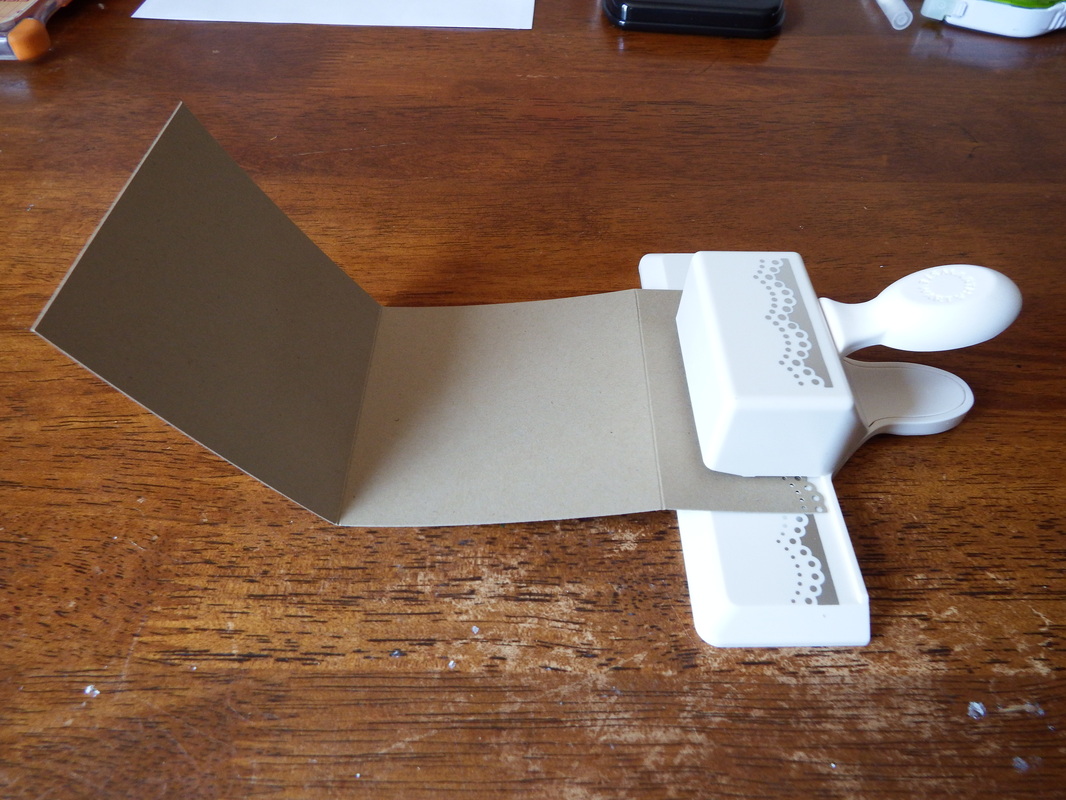
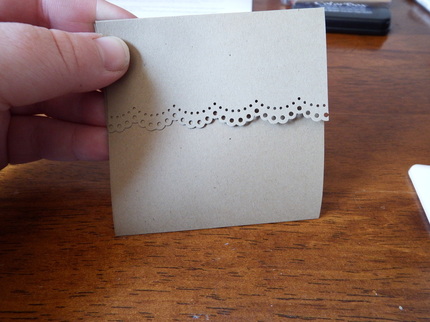
If you've decided to use an edge punch, go ahead and punch the edge. The punch I used is my doily edge punch from Martha Stewart. I really love this punch and usually use it every chance I get.
If you don't have an edge punch, you can certainly leave this; what will be the lip of your pot as is. You could also color it, stamp it, or simply adhere down a piece of decorative paper to make the lip stand out. You are only limited by what you can think of! Make it your own!
If you don't have an edge punch, you can certainly leave this; what will be the lip of your pot as is. You could also color it, stamp it, or simply adhere down a piece of decorative paper to make the lip stand out. You are only limited by what you can think of! Make it your own!
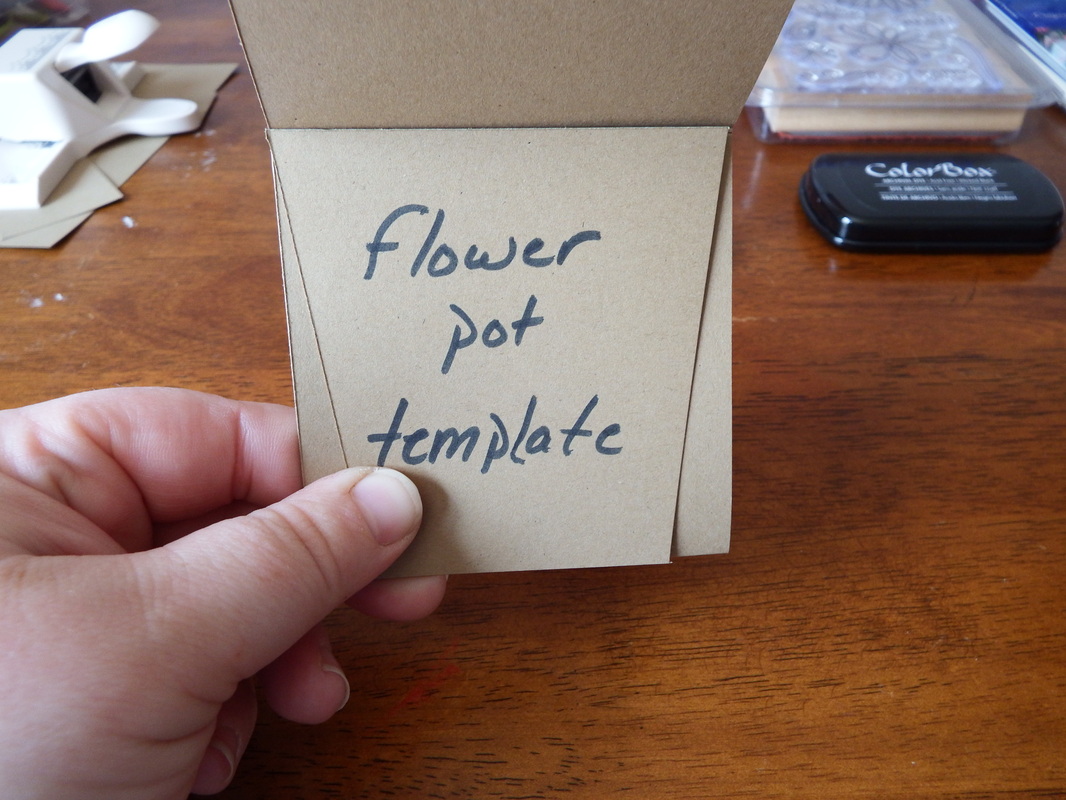
Your pot should now look like this. Now, we are going to put this aside and make the template that will give your pot the angled side shape. Face it, right now it looks like a fancy square. We will fix that...I promise!
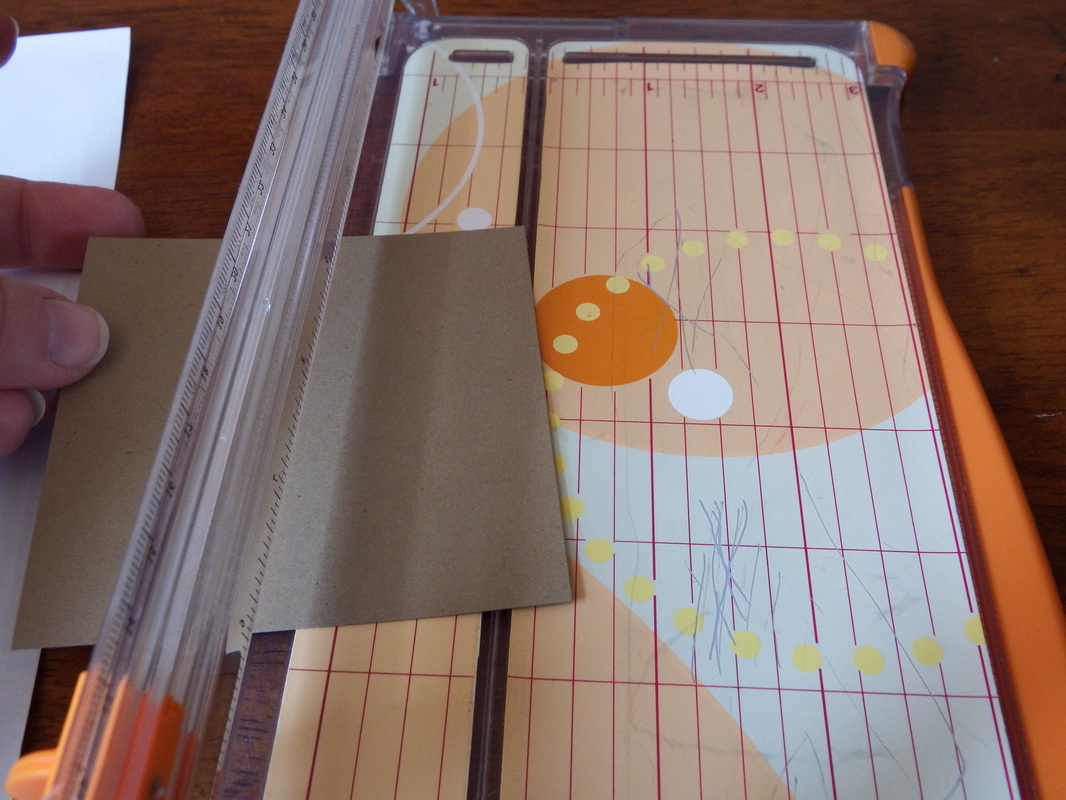
To make your template, take a piece of cardstock...scrap is fine as this will not be part of the finished piece. Cut your scrap to 3 1/2" x 3 1/2". Now..this is where you may have to refer to the picture...Line up one top corner of your square on the 2" mark IN the blade well of your trimmer. The other end gets put on the 1/2" mark just as above. Be sure to hold your cardstock well and go ahead and trim. Flip to the other side and repeat this step. Your pice should like like the angle of a pot.
Place your template against your "pot". Be sure that you DO NOT INCLUDE the pot lip (punched edge flap) in your trimming. Go ahead and trim the 2 sides of your pot. See, I told ya it would look like a pot soon!
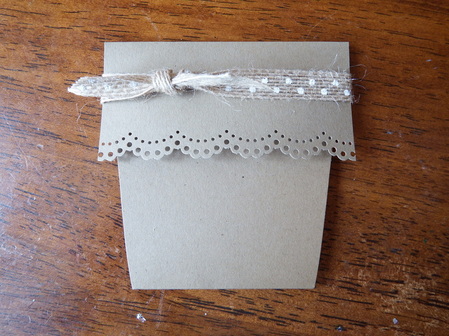
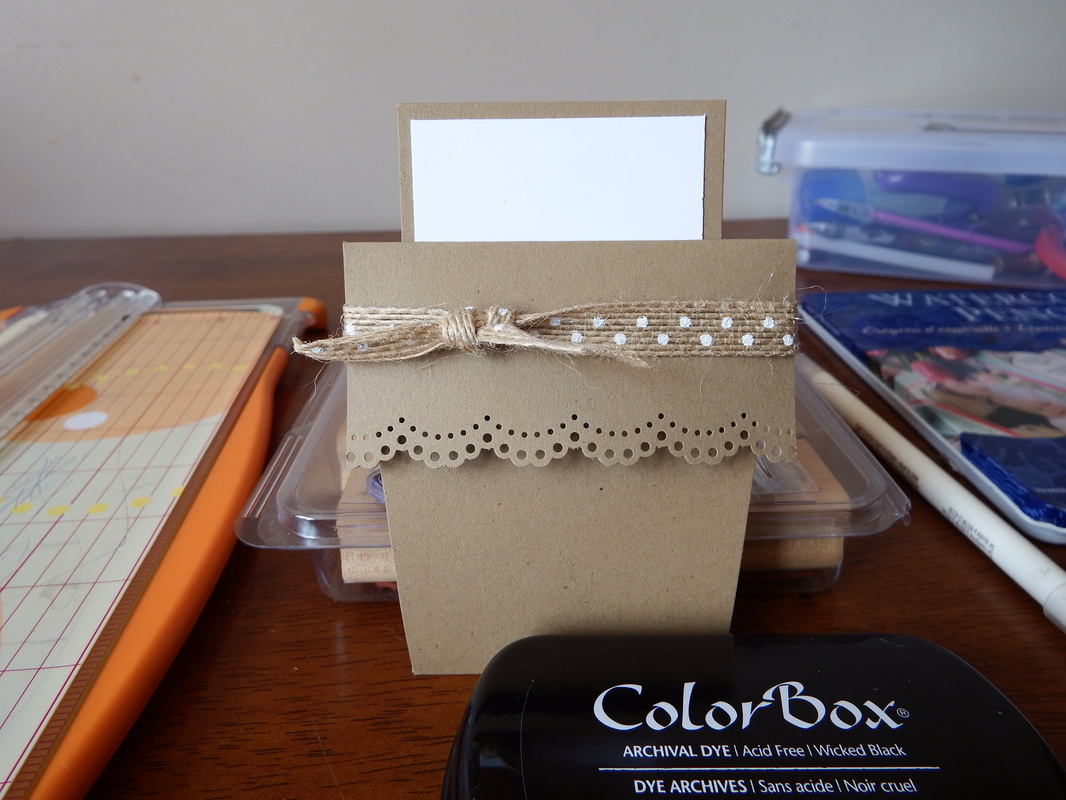
Go ahead and tie your ribbon all the way around the top of your pot. There is no adhesive holding your pot together so making sure the ribbon is snug but not too tight is important.
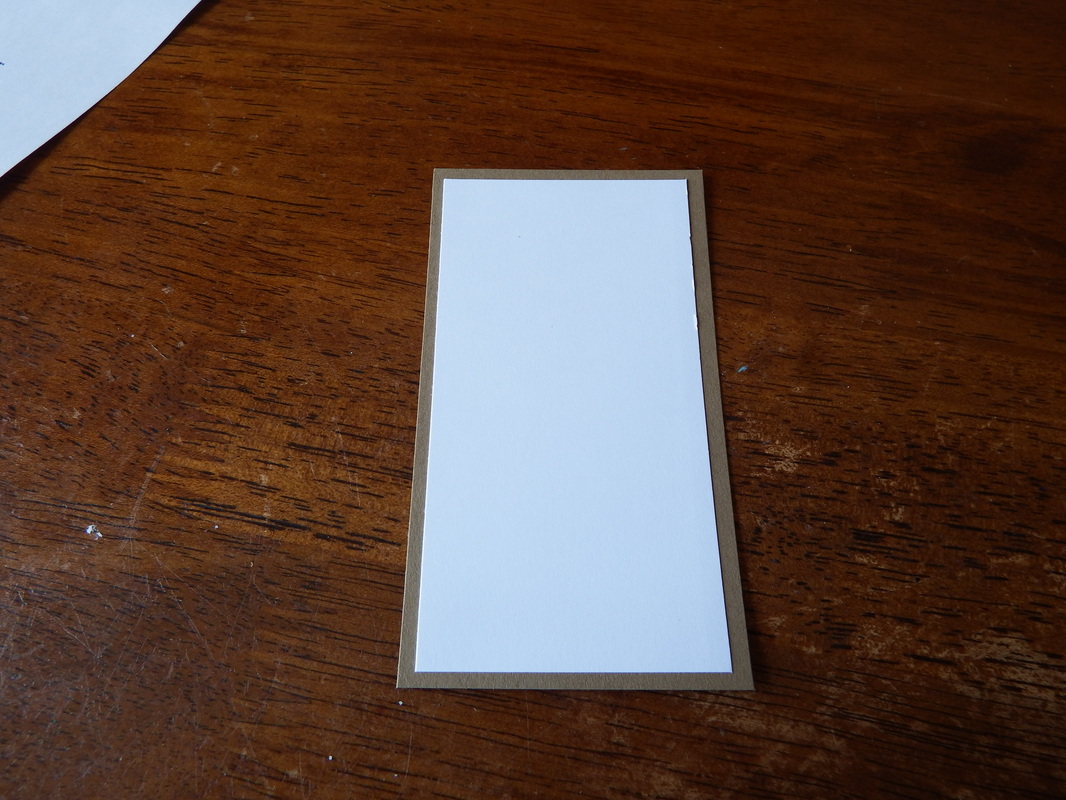
No for your matted piece. Go ahead and cut your bottom piece of cardstock to 4 1/2" x 2 1/2" I tend to use the same color that I used for the pot. That way, if a corner happens to stick out one of the bottom corners, you won't really notice. For the top piece, go ahead and cut your other color of cardstock to 4 1/4" x 2 1/4". Now, adhere the second piece to the first piece and bam! You have all of the mechanical pieces of your card finished!
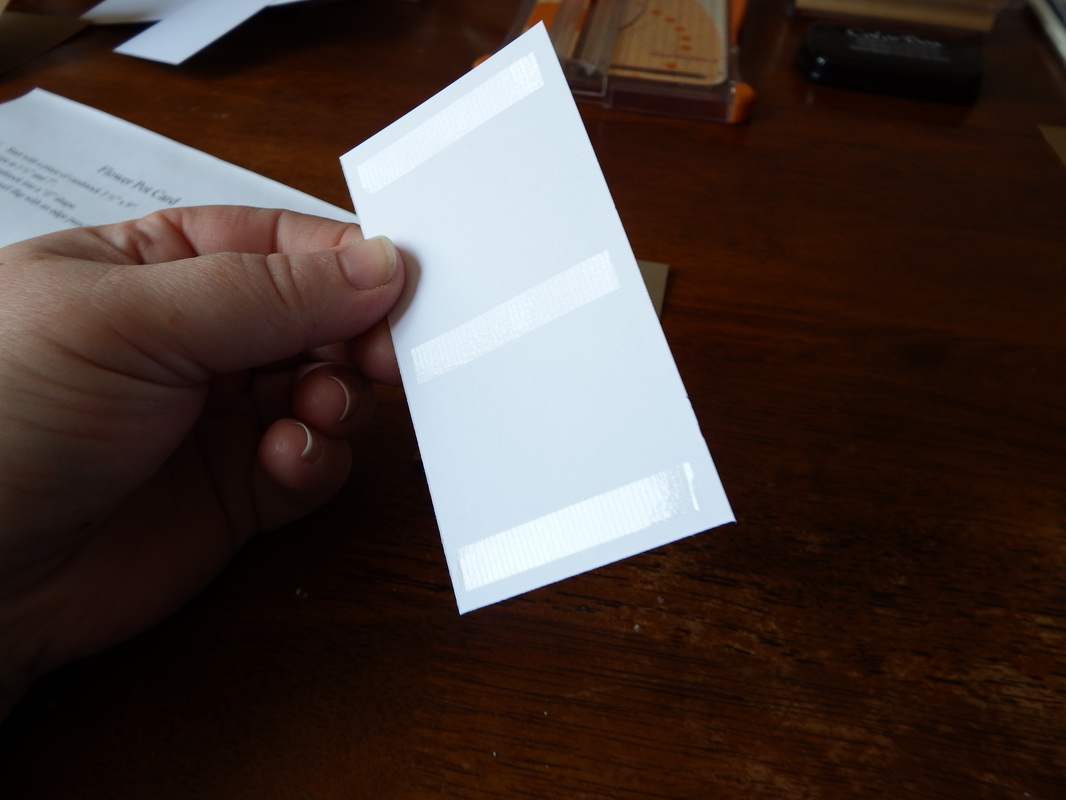
When I teach classes, and especially new crafters; they always ask me how much adhesive to put. I always say...put enough that it makes you comfortable. And besides, there is something so satisfying about the clicking of scrapbook adhesive, am I right? Huh? Huh? But, I usually use a few long strips just like the picture above.
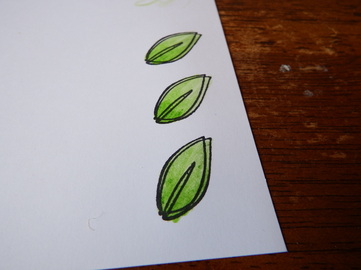
Your card should look like this now. And it's on to the fun part...decorating! This is where you can get creative with it as you like. You can keep it simple and use pre-made dimensional stickers, stamp and color your own flowers, or any other idea you can hatch! I chose to stamp mine in black and color with water color pencils. I love the soft, feminine look of the watercolor pencils. Below are some pictures of my steps along the way. Maybe some day in the future I will do a tutorial on using water color pencils. But as always, if you have any questions, contact me and I will be happy to answer them!
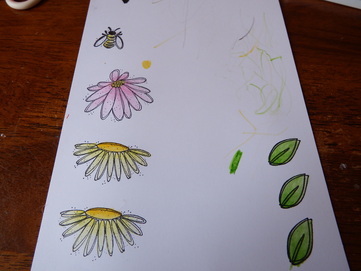
Originally, I stamped the bumblebee on the white cardstock, but I thought stamping it on vellum and coloring it would add interest to the bee while still being able to see some of the flower and color under him.
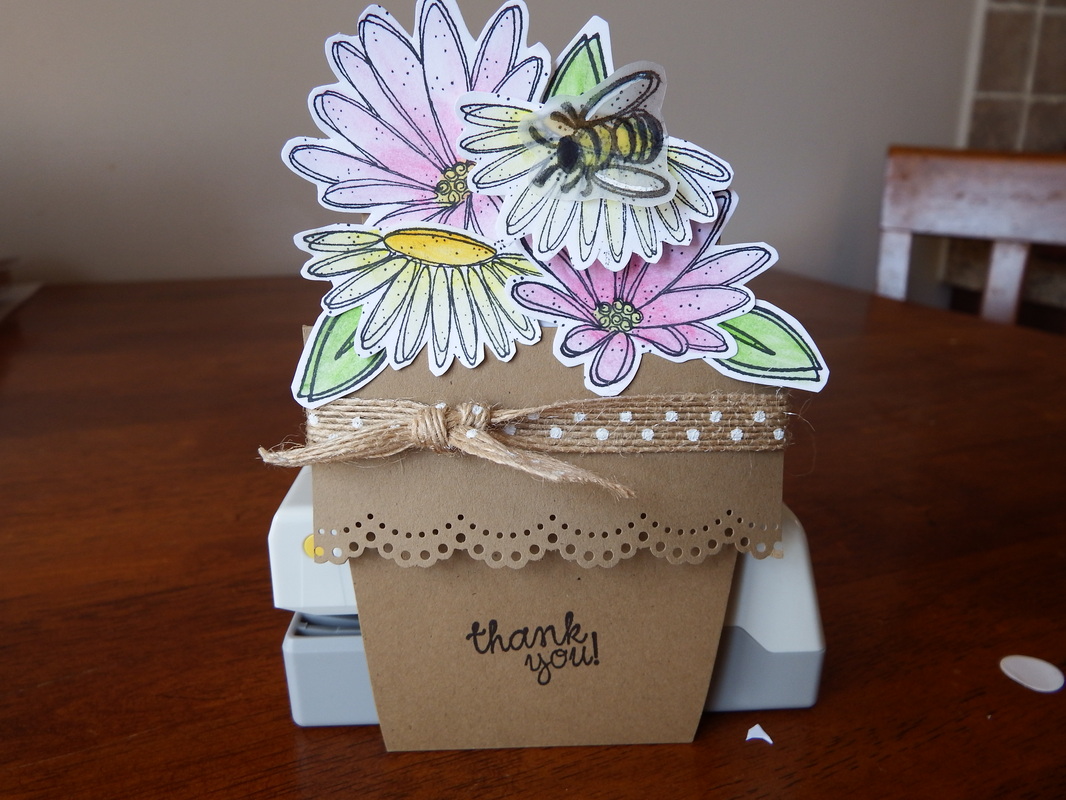
To get your flowers on, make sure that your matted piece is all the way in the pot and just adhere your flowers and leaves on one by one. Play around with placement until you get a design that you can live with. If you have an envelope, you may want to place it behind the card while you are working so that you do not place your flowers over too far to fit in the envelope. This is especially helpful if you are using larger flowers.
Another tip would be to sponge some distress ink (or brown ink) around the edges to give your pot a natural shadowing look.
Lastly, stamp a sentiment on the front of your card and/or the matted inside piece. Mine is crooked and it drives me bananas. Any way...I hope you found this tutorial helpful and I hope you try your own soon! This would be a great card for Mother's Day which is approaching!
Check back tomorrow to find out what this Sunday's project will be...already! And as always...
Craft on!

 RSS Feed