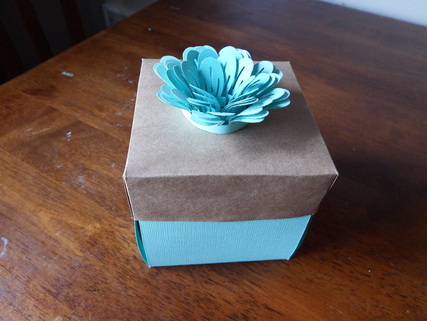
"Exploding"? Yes. It's an album? Yes. I know you're all looking at this paper box and wondering what exploding and album has to do with it. Well, it is just that surprise that moms and grandmas will enjoy when they open your own handmade gift next Sunday!
On the outside, this album looks like any ordinary paper box. But...when you remove the lid; the box explodes open and all the sides fold down to create several flaps for showcasing pictures, drawings, sentiments, or anything else your imagination can dream up! This tutorial show you how to get the basic box and lid done. I will post my finished/decorated box later this week. All you really need now is the instructions for the box, the rest is personalized by you!
Mother's Day is a week from today so you still have plenty of time to get this great gift started and finished! Let's get started!
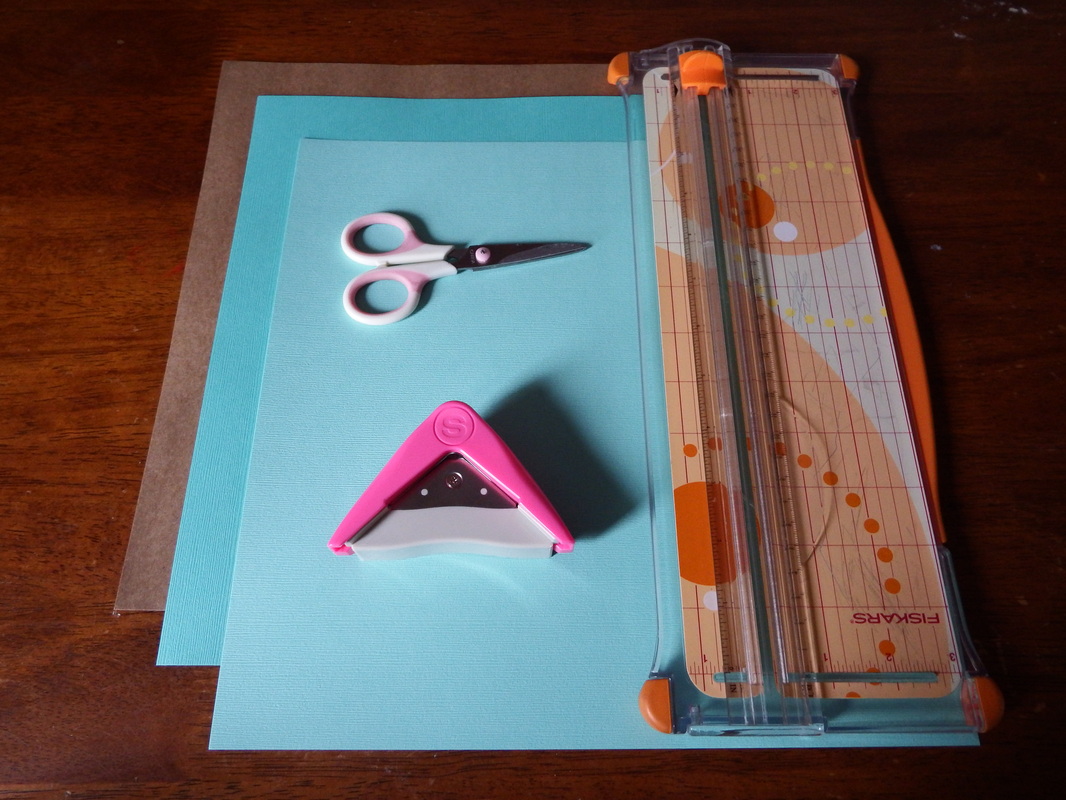
Your necessary supplies: (Not much at all!)
1. 4 sheets of coordinating 12" x 12" cardstock
2. 12" paper trimmer with cutting AND scoring blades
3. Pair of scissors
4. Corner edge punch
Optional items you may use to decorate:
1. Paper flowers (or a punch to make them yourself)
2. ribbon, lace, etc.
3. Rhinestones
4. Pictures of your choosing
5. Sheets of coordinating decorative paper
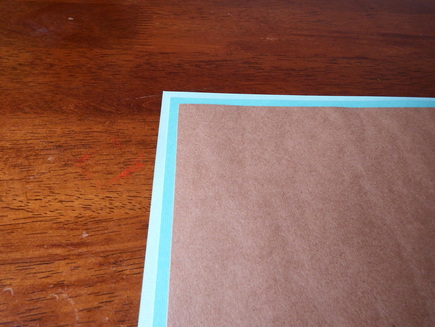
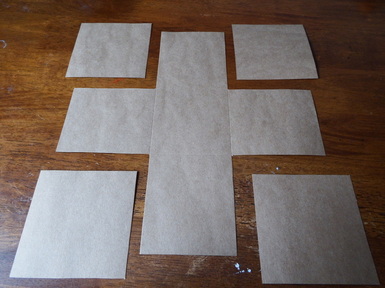
To begin, decided which of your 3 colors (unless you use 3 of the same colors) you would like on the outside of your box. This piece will stay 12" x 12". The next piece that will be in the middle needs to be trimmed down to 11 3/4" x 11 3/4". And lastly, your final piece needs to be 11 1/2" x 11 1/2". Essentially, you are creating a matted border around each; looking something like the picture above when they are all cut down.
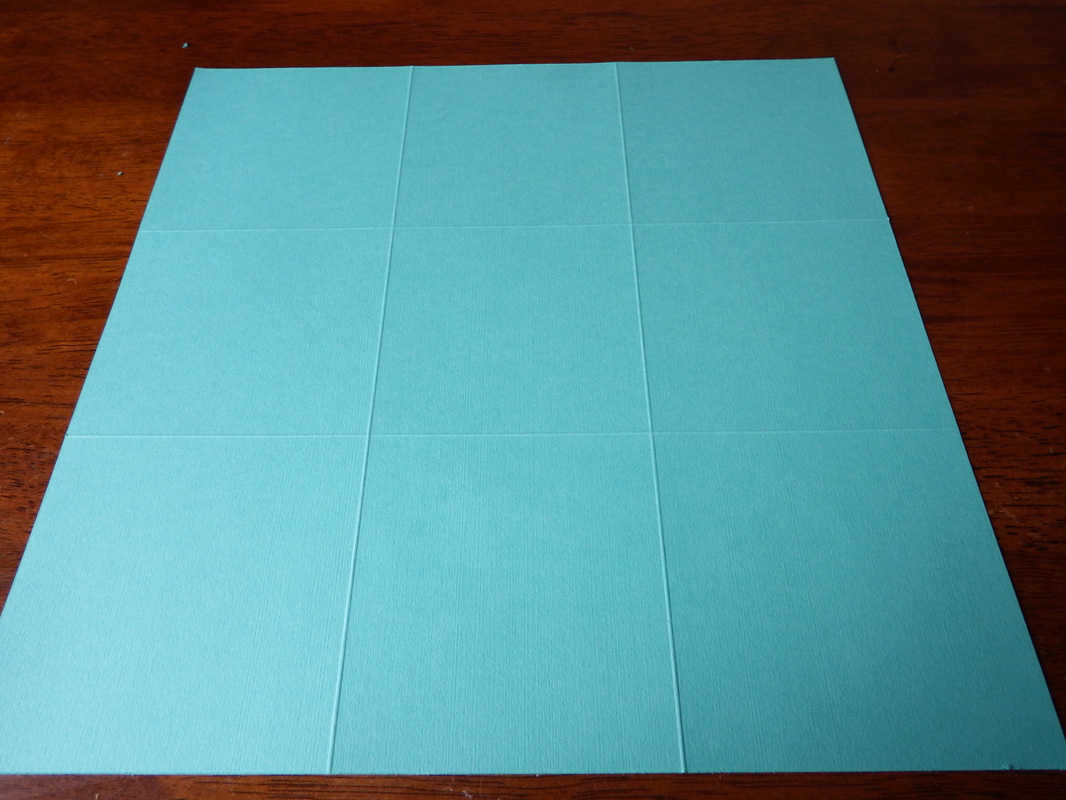
After you have trimmed down all 3 sheets of your paper, you will score EACH one at 4", turn to the next side and score again at the 4" mark. Do this for all sides. When you have done all 4 sides, your paper should looked something like a tic tac toe board.
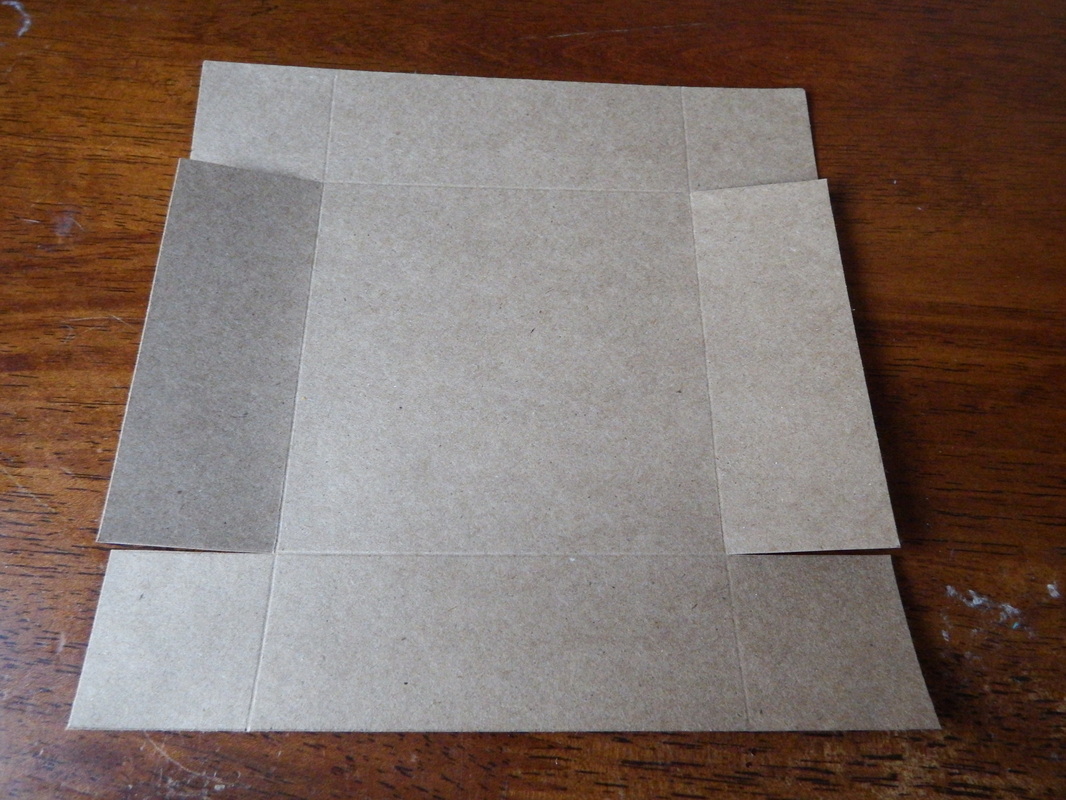
After you have scored the 3 sheets needed for the structure of your box; go ahead and cut out each corner of those sheets like above. Go ahead and save those squares..you may want to use them later for matting your pictures on the flaps or for another project!
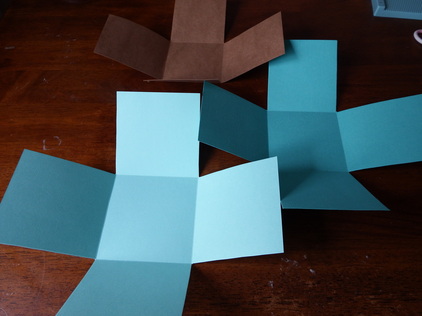
All 3 of your box pieces should be starting to look like a box!
Now, go ahead and use your handy-dandy corner rounder to make those sharp corners round. Of course, if you prefer the squared corners you can leave them. I've always been partial to rounded ones myself.
Ok...now on to that lid...
Ok...now on to that lid...
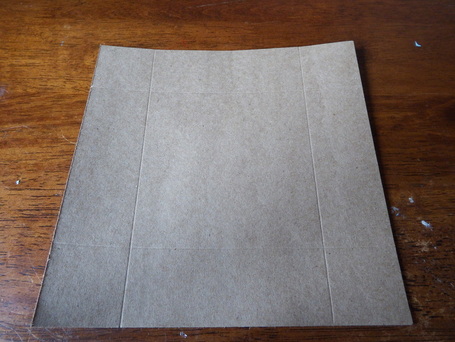
For the lid, you will need that last piece of 12" x 12" cardstock. For my lid, I chose a different color from the body of my box so that my flowers and embellishments would stand out more. The color is completely up to you. As a matter of fact, this project was originally going to be in shades of purple as this gift will be for my Mother-in-law but I figured with pictures of my boys in, the purple would look kinda funny. So, blues and brown it ended up being! Anywho...Go ahead and cut your cardstock so that it measures 7 1/8" x 7 1/8". Just like in the beginning, go ahead and score your box on all sides at the 1 1/2" mark. When you're done, it should look like as shown above.
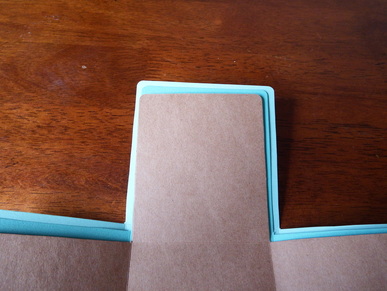
I made sure to take a picture of this step, because I wasn't sure if I could explain it good enough that y'all would understand. Heck, I can barely understand my own notes sometimes! So, go ahead and cut on the score lines up to the next score mark as shown above. Essentially you are creating tabs that you will be able to glue down to create your square lid. Being the dummy I am; I forgot to take a picture of this step, so I hope I can describe it will enough.
Place your adhesive on one of the square corners after you have folded up all of your score lines. Now, glue this flap on the inside (towards yourself) of the cardstock. Repeat this step for all 4 corners.
Place your adhesive on one of the square corners after you have folded up all of your score lines. Now, glue this flap on the inside (towards yourself) of the cardstock. Repeat this step for all 4 corners.
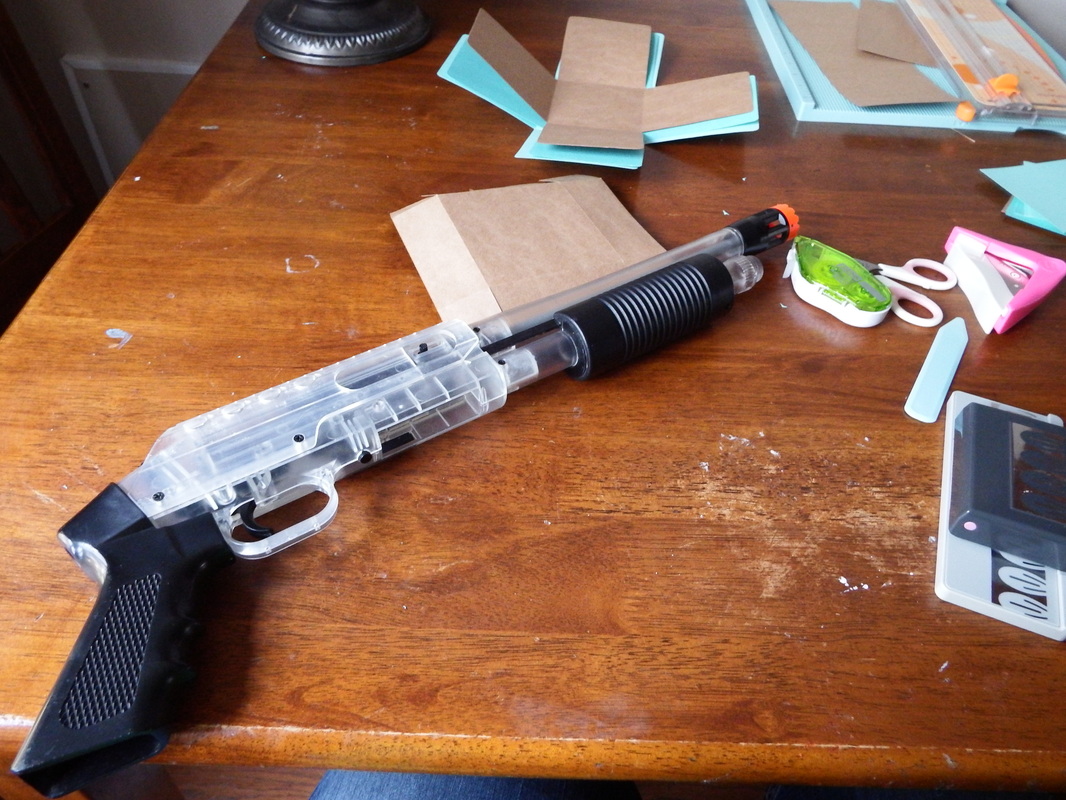
I seriously walked away from my workspace for like 2 minutes and when I came back there was a toy gun in the middle of it all. Oh the joys of having boys...
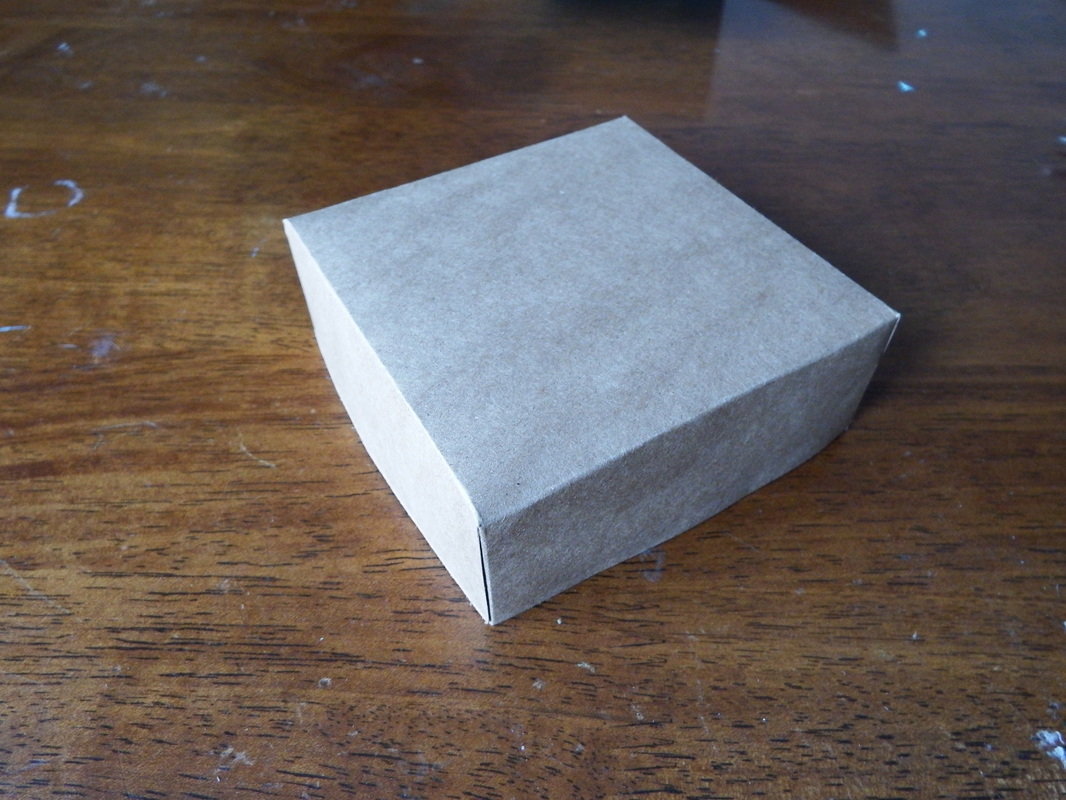
So after you have adhered down all of your corner tabs (and removed any faux firearms from your work area) you will have yourself your very own lid!
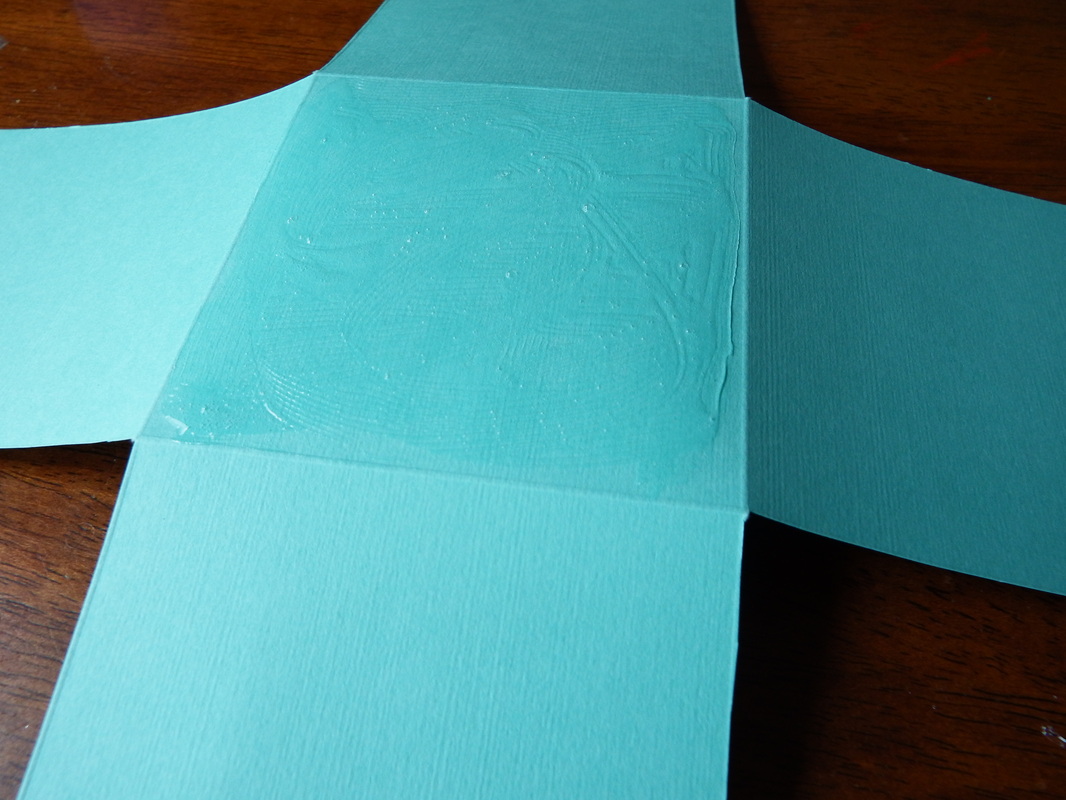

Go ahead and place glue on the bottom, middle square of the your middle piece of cardstock. Go ahead and stick it down to the piece that will be the outside of your box. Repeat this for the third /most inside piece. Make sure not to use too much glue (as I found out the hard way) as it does cause your paper to wrinkle. If you do happen to do this, simply place a decorative piece of paper over the square...voila! Problem solved! After your layers have had time to dry, go ahead and fold up the sides and put your lid on and admire your handy work!
All of the flaps can be used to put whatever you would like on them..front AND back! If you wanted something simpler, you could always just use one outside layer and make this album into a smaller album or just a Mother's Day card. Let your imagination decide!
Be sure to check back later this week to see my finished project. I have to get my feisty boys to sit still long enough to get some pictures taken here at home that I can use in my album. That's a job in itself! Until then..you know what to do...
Craft on!

 RSS Feed