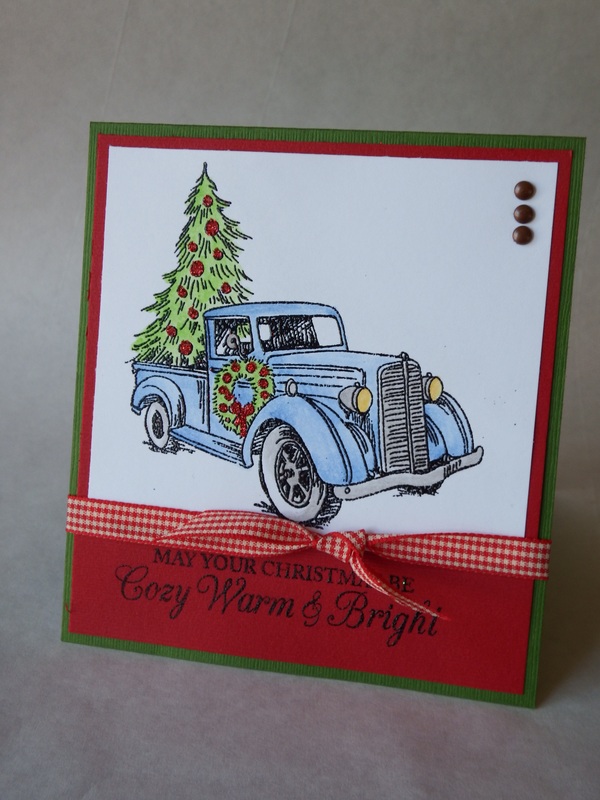
I can't believe that my countdown is almost over already! I'm having so much fun showing off so many different cards, styles and techniques. This countdown has made me really branch out my creativity. I've had the opportunity to use new products, try some new techniques and even some that I thought I wouldn't like or be good at. Where am I going with this? Well, it's today's card that I'm really breaking out of my creative mold. This piece has a large picture on the front that required more coloring that I am usually comfortable with but I am really please with the end result.
Today's card would make a great choice for a more masculine card or just a break from the usual snowmen, snowflakes, gingerbread, etc but still has the all the Christmas feel. While this card may seem difficult, it really isn't. The car and tree are colored with watercolor pencils. They are very forgiving and give you an uneven, watercolor look to your image. I don't like the streaky look of conventional markers and copic markers can be an expensive purchase.
Let's get to it! How to make it....
1. Cut your cardstock base, create your fold and mat with piece of coordinating cardstock.
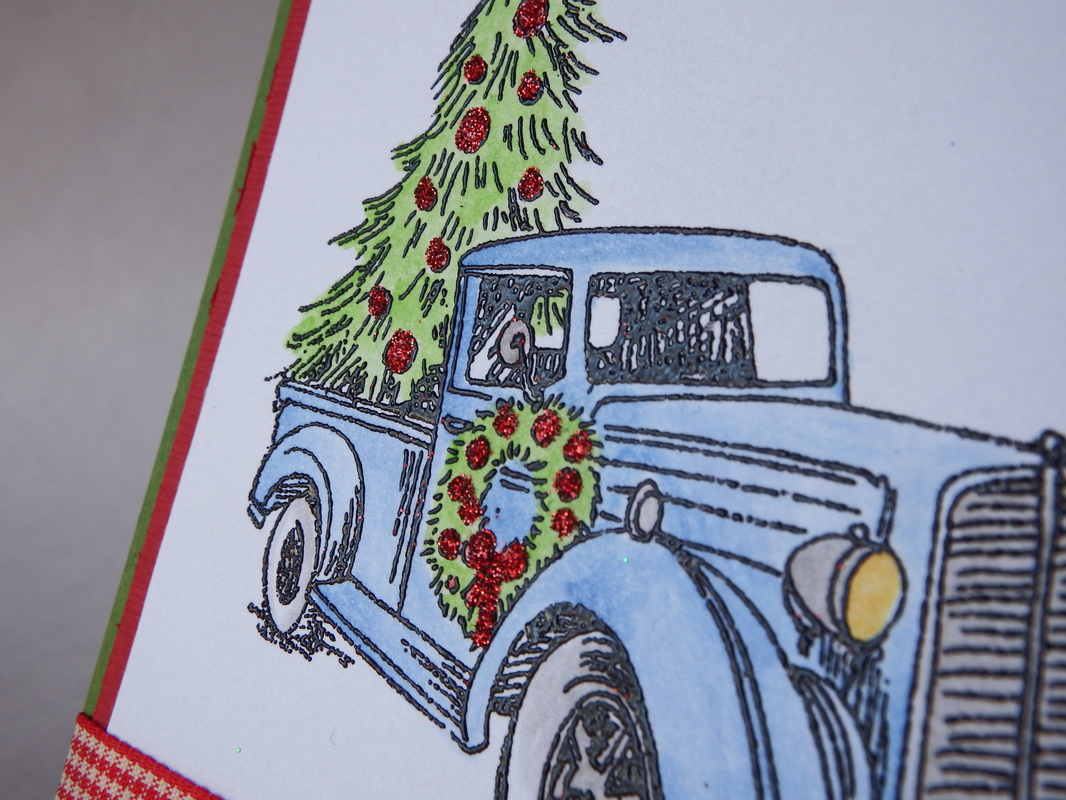
2. Stamp your image on white cardstock. To make coloring easier and to prevent bleeding from your blending marker; stamp with Versamark and heat emboss your image with black embossing powder. If you don't have these items or don't feel like embossing; simply be careful and don't spend too much time on the image itself with your blender pen so the ink won't bleed.
3. Color your image with watercolor pencils; blending with a blender marker. To create lighter shades and less visible pencil strokes, color a small spot on another piece of scrap cardstock, dip your blender in that and color as such. Unless you need a darker color saturation, this is how I prefer to color most of my images. To finish your image; dab glue over your ornaments and sprinkle with red glitter. Because...what is Christmas without some sparkle?!?!
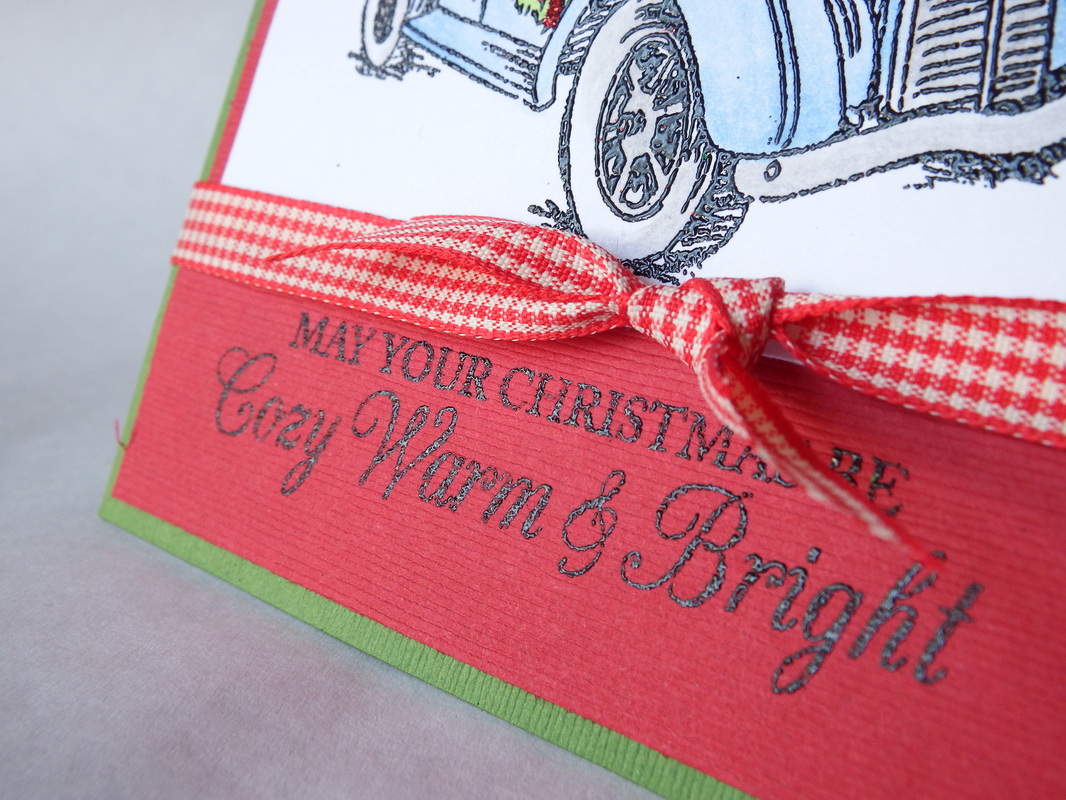
4. Adhere your image to your cardstock base; making sure you leave space to stamp and heat emboss your sentiment under your image.
5. To finish; place three brads on the right top corner. This simple trick lets you fill in a bit of space without being too overpowering. Lastly, tie a coordinating ribbon on!
Today's card would make a great choice for a more masculine card or just a break from the usual snowmen, snowflakes, gingerbread, etc but still has the all the Christmas feel. While this card may seem difficult, it really isn't. The car and tree are colored with watercolor pencils. They are very forgiving and give you an uneven, watercolor look to your image. I don't like the streaky look of conventional markers and copic markers can be an expensive purchase.
Let's get to it! How to make it....
1. Cut your cardstock base, create your fold and mat with piece of coordinating cardstock.
2. Stamp your image on white cardstock. To make coloring easier and to prevent bleeding from your blending marker; stamp with Versamark and heat emboss your image with black embossing powder. If you don't have these items or don't feel like embossing; simply be careful and don't spend too much time on the image itself with your blender pen so the ink won't bleed.
3. Color your image with watercolor pencils; blending with a blender marker. To create lighter shades and less visible pencil strokes, color a small spot on another piece of scrap cardstock, dip your blender in that and color as such. Unless you need a darker color saturation, this is how I prefer to color most of my images. To finish your image; dab glue over your ornaments and sprinkle with red glitter. Because...what is Christmas without some sparkle?!?!
4. Adhere your image to your cardstock base; making sure you leave space to stamp and heat emboss your sentiment under your image.
5. To finish; place three brads on the right top corner. This simple trick lets you fill in a bit of space without being too overpowering. Lastly, tie a coordinating ribbon on!
Easy peasy, right? Card making should be fun and enjoyable. Most designs are easier and less daunting than they look. Give it a try and see for yourself how easy and gratifying card making can be!
I'm curious to know at what level those of you who visit are. Are you an experienced paper crafter, wanting to start, or just enjoying looking at the handmade creations? Leave me a comment below and let me know! Please share the crafting love if you know someone who also may enjoy my page! Comments and shares are greatly appreciated. You can also follow me on Pinterest, where you can also find all of my cards from this countdown on my Card board! So...until tomorrow...
Craft on!

 RSS Feed