As I debated which design to go with first and so on; I figured I might as well give you my Christmas card for this year. I started out not really sure what I was doing with this card other than I knew that I LOVE using the branch and leaf punches to make these wreaths! They look so classy and you can dress them for almost any season that it's hard not to fall in love with them!
How I made this card:
The base is made from kraft-colored cardstock. I seriously can't get enough of this color. I have been using for everything! I think it provides a rustic look without using the standard white or black card bases. To get the white splatters on the back ground, I simply watered down some plain white acrylic paint so that it was very thin and flicked it on with my fingers and blotted it dry to get a lighter effect. The "stitching" is done with a white gel pen. I can't sew a straight line and I think this technique works great if you don't want to haul out the sewing machine!
For the wreath, I punched out the leaf branches using the same punch that I used on the fall (large) wreath card and pieced them end to end with a glue pen. To get the look of snow/frost on the wreath, I waded up a piece of paper towel and dipped it in (undiluted) white acrylic paint until I had the look I wanted. The wreath is finished off with a simple white bow and some small red rhinestones.
The sentiment was stamped in Versamark then heat embossed with red glitter embossing powder, stamped simply on white cardstock to help tie in the white of the bow. Before adhering the sentiment, I wound and adhered red satin ribbon and mounted the wreath and sentiment with dimensional foam dots to create some dimension.
How I made this card:
The base is made from kraft-colored cardstock. I seriously can't get enough of this color. I have been using for everything! I think it provides a rustic look without using the standard white or black card bases. To get the white splatters on the back ground, I simply watered down some plain white acrylic paint so that it was very thin and flicked it on with my fingers and blotted it dry to get a lighter effect. The "stitching" is done with a white gel pen. I can't sew a straight line and I think this technique works great if you don't want to haul out the sewing machine!
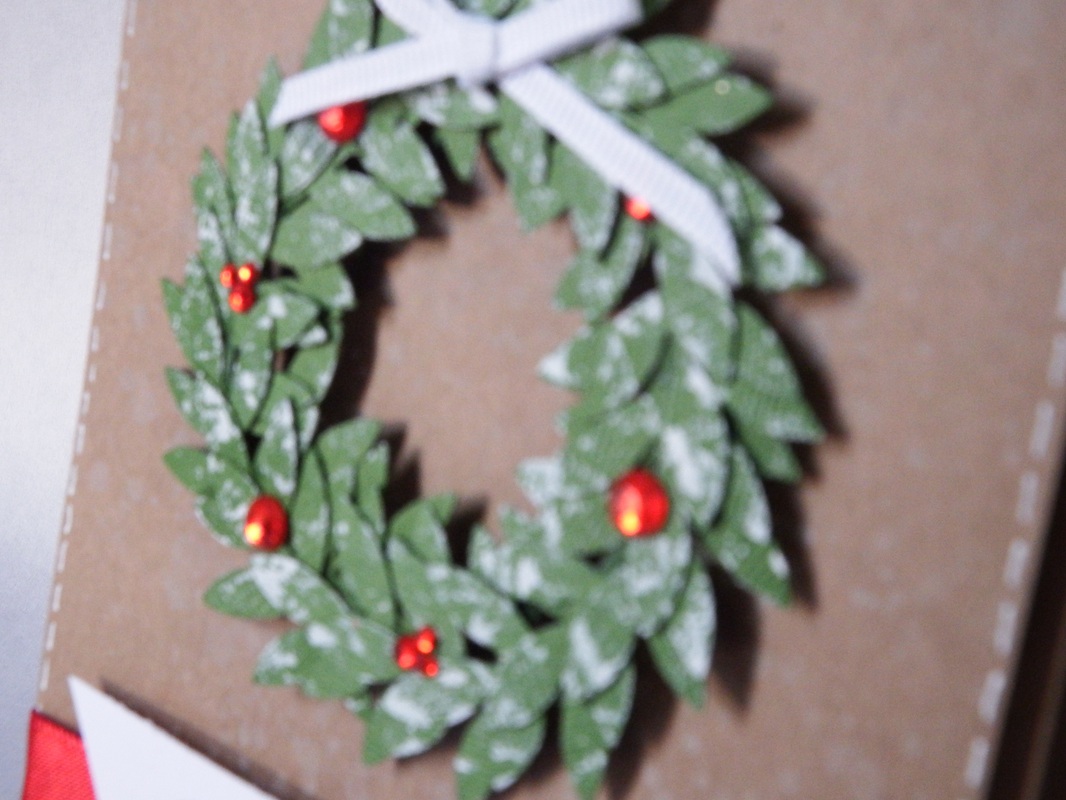
For the wreath, I punched out the leaf branches using the same punch that I used on the fall (large) wreath card and pieced them end to end with a glue pen. To get the look of snow/frost on the wreath, I waded up a piece of paper towel and dipped it in (undiluted) white acrylic paint until I had the look I wanted. The wreath is finished off with a simple white bow and some small red rhinestones.
The sentiment was stamped in Versamark then heat embossed with red glitter embossing powder, stamped simply on white cardstock to help tie in the white of the bow. Before adhering the sentiment, I wound and adhered red satin ribbon and mounted the wreath and sentiment with dimensional foam dots to create some dimension.

Not the greatest close up of the wreath but you get the idea.
Since I did pick this card to be my own Christmas card design this year, I'm sure it goes without saying but I'm in love with it! I love the simpleness but also how timeless the design is.
Drop me a comment and let me know what you think. Think you might wanna try it? Let me see pics!
Share pics of your own Christmas cards so that others may Oooh and Aaaah at them as well! I will upload them to my Christmas Card 2014 Gallery! You never know when one of your ideas may inspire another! I'm going to go work on another project that will be featured after the 12 Days of Christmas Cards! Until tomorrow and another fantastic card...
Craft on!

 RSS Feed