I've been working on quite a few different projects lately...everything from stuff for my Etsy Store to demos for my upcoming paper crafting classes and eventually stuff for my own collection...eventually...
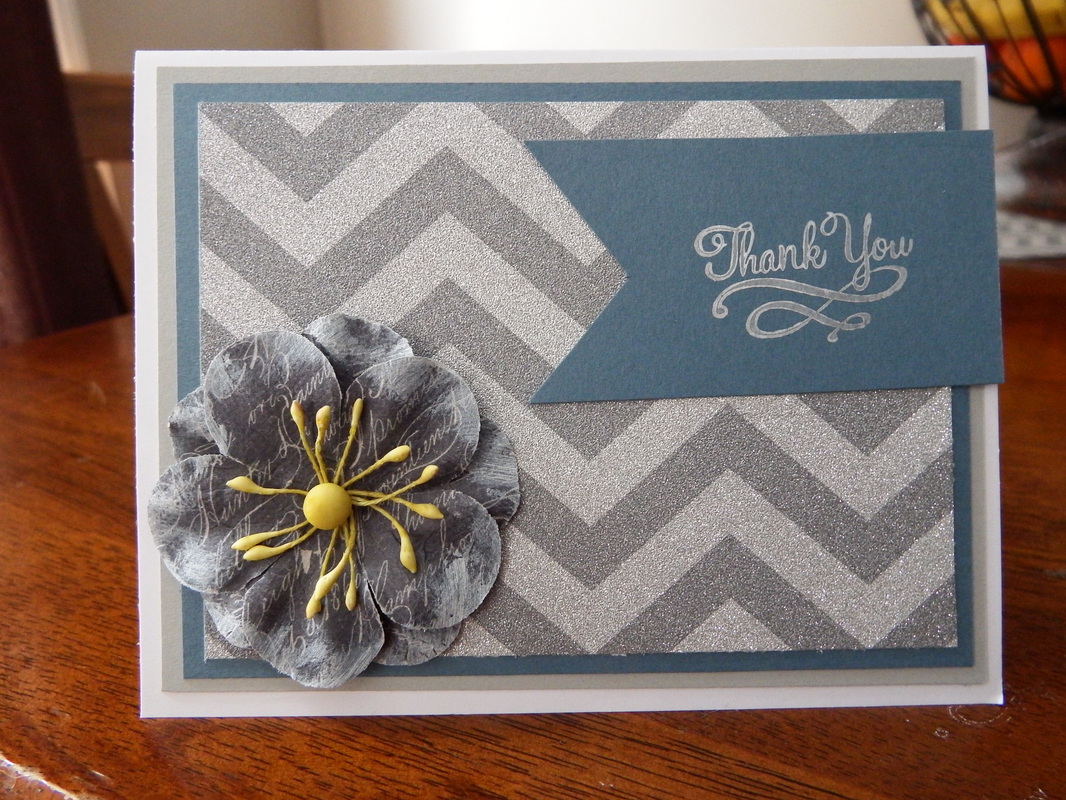
I've heard a lot of people say "I wish I was creative so I could make stuff like that" or "If I was a crafty person, I would make some of those things!" I'm here to tell you that with just a few very basic tools and a simple layout, YOU can make cute handmade cards that you can be proud to give to anyone! Let's not waste anytime and jump right in!
I've heard a lot of people say "I wish I was creative so I could make stuff like that" or "If I was a crafty person, I would make some of those things!" I'm here to tell you that with just a few very basic tools and a simple layout, YOU can make cute handmade cards that you can be proud to give to anyone! Let's not waste anytime and jump right in!
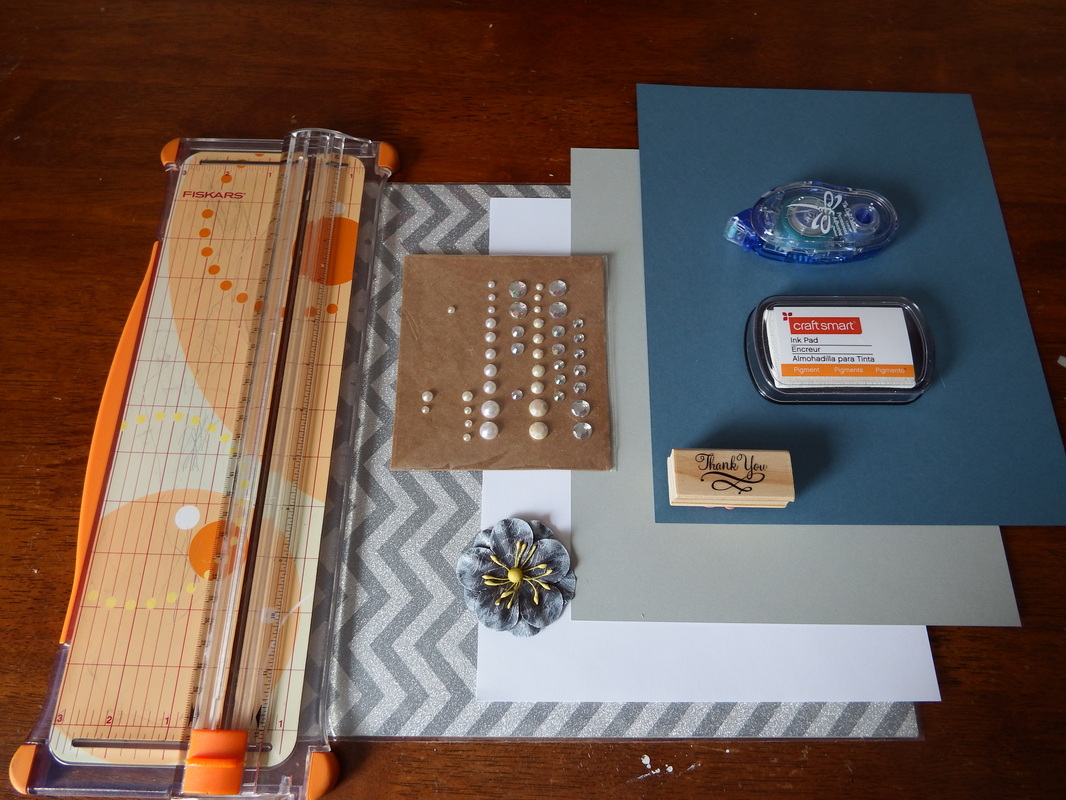
Supplies:
~1 Paper Trimmer
~3 Sheets of colored cardstock 8 1/2" x 11" is all that you need here
~1 Piece of matching, printed cardstock 8 1/2" x 11" also works for this
~Scrapbook Adhesive (or what you have on hand)
~Rubber Stamp and ink of your choice; You could always purchase a sticker if you don't have or don't want to invest in a rubber stamp!
~Embellishment of your choice ( I chose the blue flower)
I thought I was going to use the sheet of rhinestone stickers, but decided against it later, so just ignore those little guys.
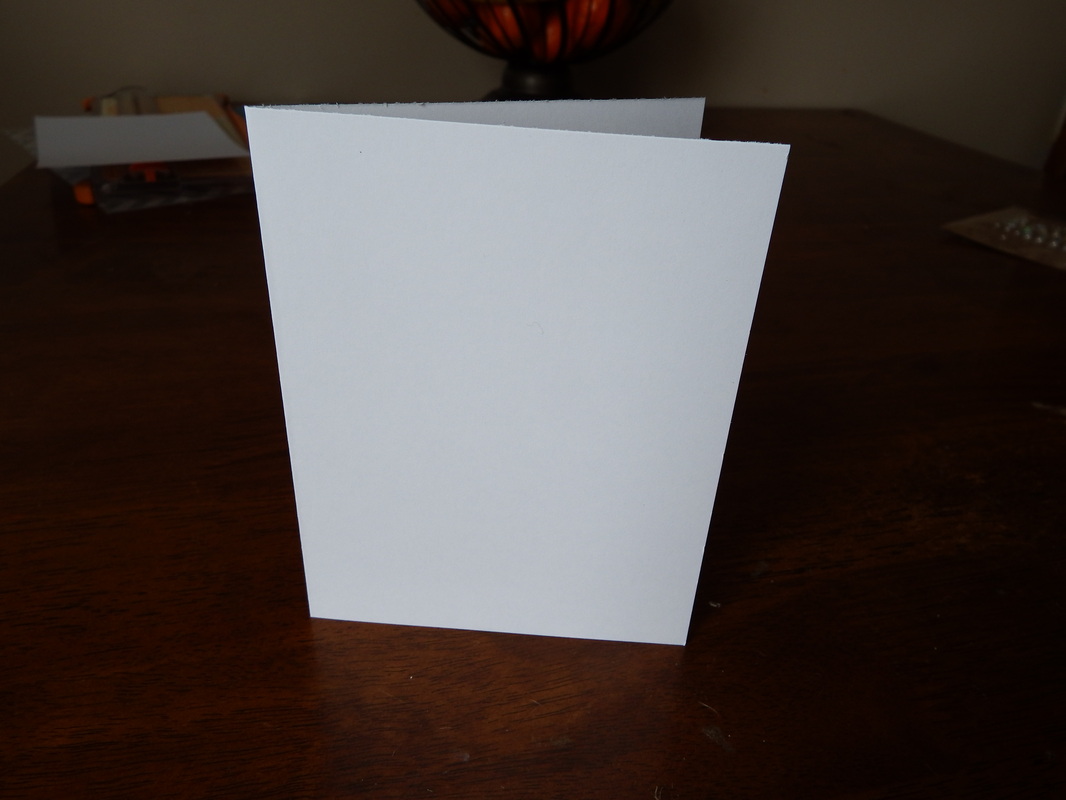
To begin; take your piece of cardstock that you want to use for a base. If you are just getting into paper crafting, a pack of white is a great investment.; you can use it for just about everything. Now, take that paper and cut it in half width ways. If you are using 8 1/2" x 11" cardstock, this would be at 5 1/2". Now, take one of your pieces and fold it in half so that it looks as pictured above. You now have your card base.
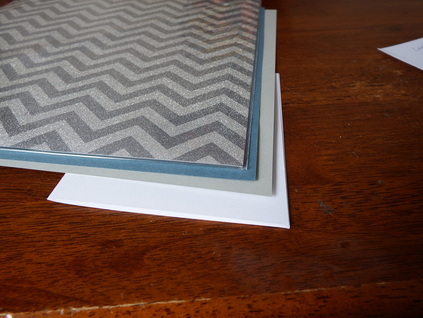
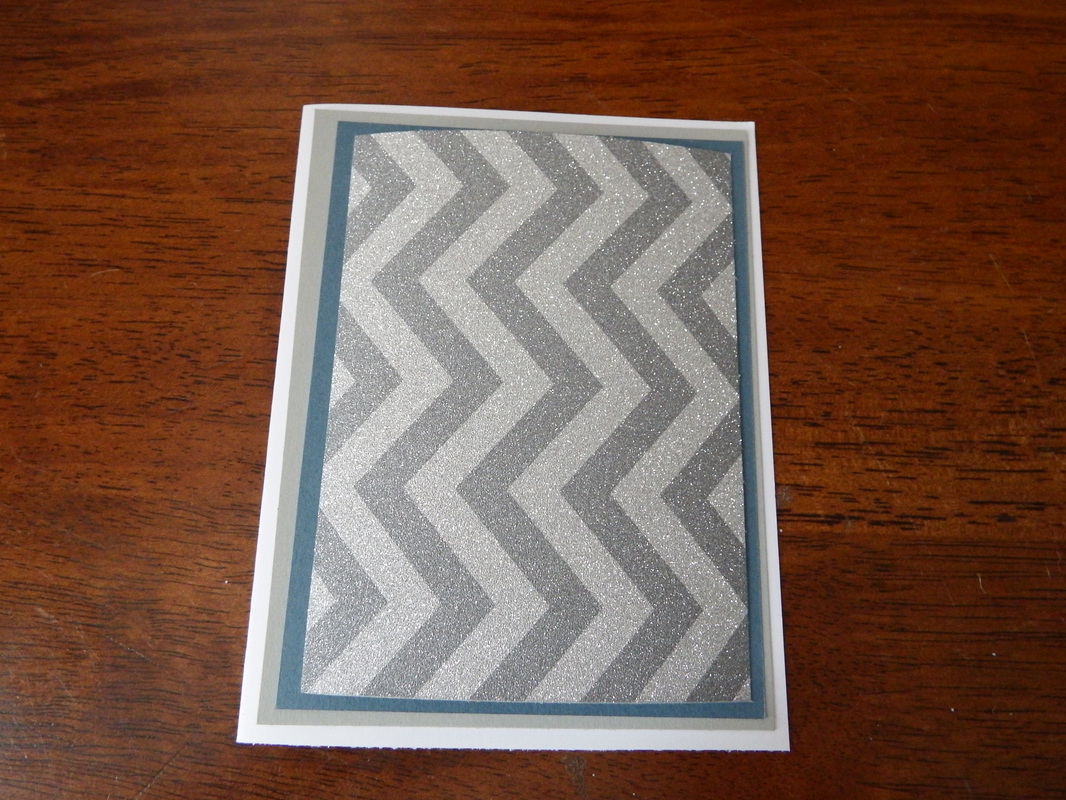
Here's a good trick for easily creating interest to your card without spending a lot of time and money making or buying embellishment; mat your card. The more layers you have, the more interest you create, but sometimes less is also more! I know that my chevron print paper is kind of busy, so I want to break up that business with a color that matches the print and another color that ties in the colors of my embellishments. So I went with gray and a smokey blue.
Cut your card stock mats 1/4" smaller than the previous mat. Play around with the color combinations until you find something you are happy with. If you are using the same size card as I have here then your measurements will be as follows:
Card Base: 4 1/4" x 5 1/2"
Layer 1: 4" x 5 1/4"
Layer 2: 3 3/4" x 5"
Layer 3: 3 1/2" x 4 3/4"
When you are happy with your sizes and layering, go ahead and stick those bad boys down with your scrapbook adhesive! You're almost done already!
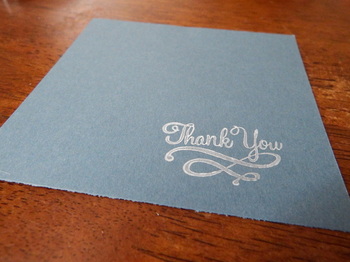
On to your embellishments...If you had decided to use a stamp and ink pad, go ahead and stamp your image on to a piece of your matching cardstock. I have decided to give this a pennant look by adding a dovetail to one side of my sentiment.
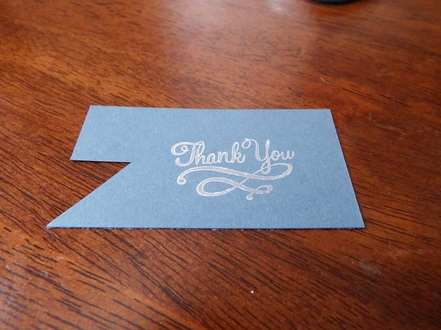
To make a dovetail, simply cut a slit up one end, approximately half way to where you want the point of the dovetail to be. Then, simply cut, starting at one corner, until you meet the top of that slit...as pictured above. Do the same with the other corner and you have a banner!
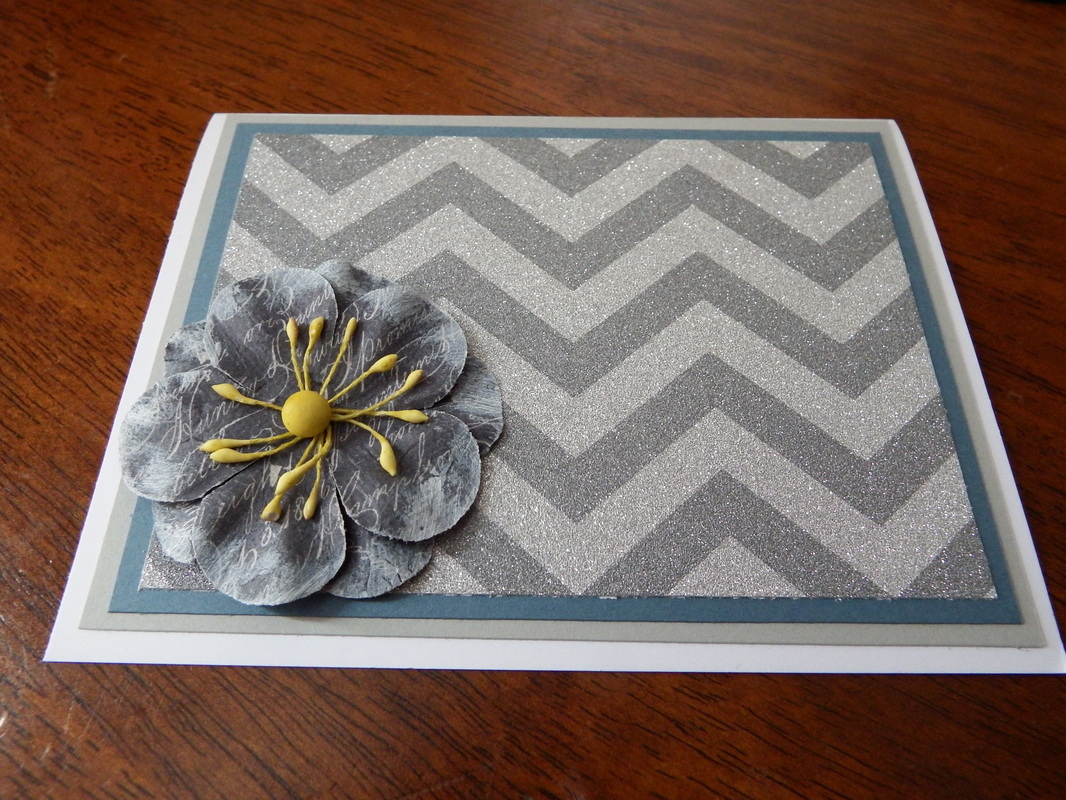
Time to stick down the embellishment you picked out. Flowers are always pretty safe, unless it's a masculine card. Those are always pretty tricky for me...but alas, that's another post for another day.
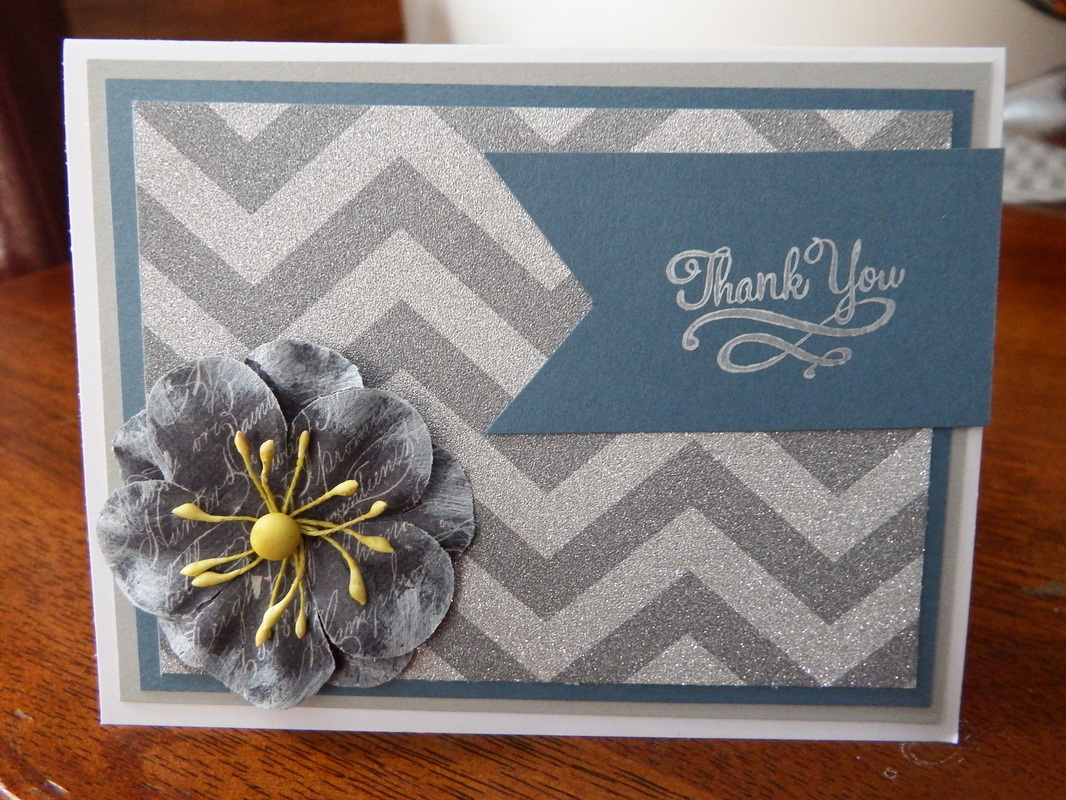
Lastly, stick down your sentiment and you are finished! That. Is. It. I told you it was easy. You don't have to be Martha Stewart to create your own handmade cards. Don't be intimidated, go and give it a try. Post your creations in the comments and let me see your handiwork.
Well, I gotta get back at the madness that is my crafting space, so have a great Sunday everyone and as always...
Craft on!
Well, I gotta get back at the madness that is my crafting space, so have a great Sunday everyone and as always...
Craft on!

 RSS Feed