When I decided to start my own crafting blog, I went through a ton of possibilities for my first project. First, I had to ask myself what type of craft did I want to do. Scrapbooking? Cardmaking? Re-doing a piece of furniture? Knitting? And then it hit me... I craft for the same reason that many of you probably also do; because I like to make new things that I can use around my house or give as a gift. So, after checking my Pinterest (I'm a total addict) craft board, I decided to work on a project that I had seen some time ago.
Being on a very strict and tight budget, I plan out meals at least a week in advance. This stops the extra trips to the grocery store; only allows me one day per week where I'm pulling the hair out of my head trying to decide on meals instead of daily. And lastly, and perhaps most importantly this project will end the constant, "Mom, what's for dinner tonight?"
Anyways, let's get started....
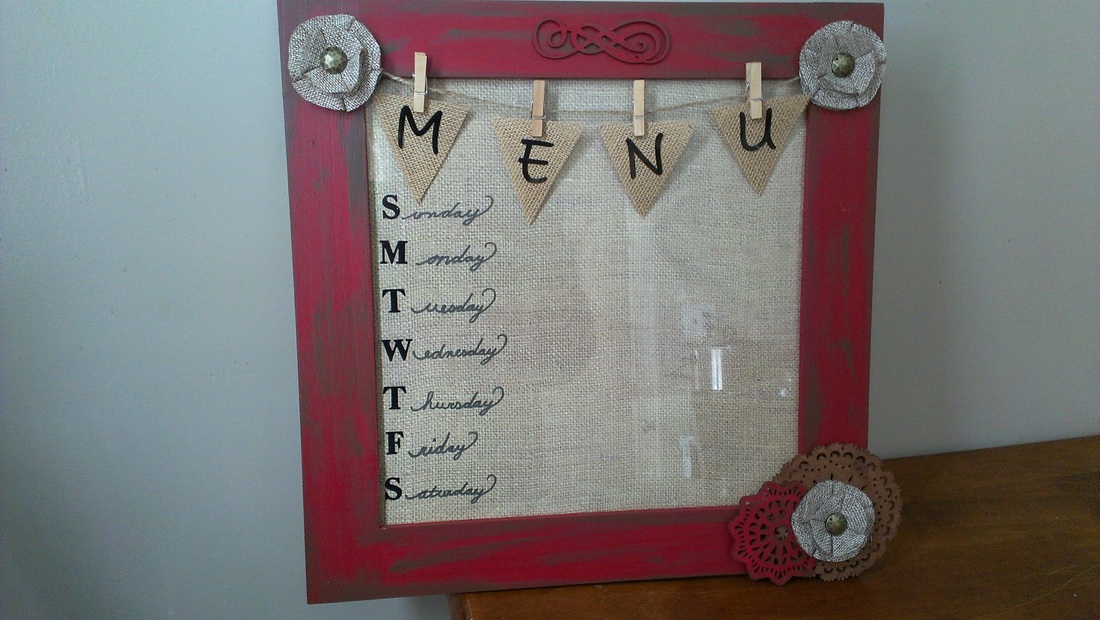
I found my inspiration for this project on Pinterest. I tried to link to the original site, but apparently the site has been blocked and I am not able to give credit to the original idea. The idea was a basic 12"x12" frame with scrapbook paper behind the glass with stickers for the days of the week. Very cute, and pretty basic. While I don't knock the idea; I love to embellish my projects and add my own unique touches to all of my work (some unintentionally :) ). And away we go!...
Being on a very strict and tight budget, I plan out meals at least a week in advance. This stops the extra trips to the grocery store; only allows me one day per week where I'm pulling the hair out of my head trying to decide on meals instead of daily. And lastly, and perhaps most importantly this project will end the constant, "Mom, what's for dinner tonight?"
Anyways, let's get started....
I found my inspiration for this project on Pinterest. I tried to link to the original site, but apparently the site has been blocked and I am not able to give credit to the original idea. The idea was a basic 12"x12" frame with scrapbook paper behind the glass with stickers for the days of the week. Very cute, and pretty basic. While I don't knock the idea; I love to embellish my projects and add my own unique touches to all of my work (some unintentionally :) ). And away we go!...
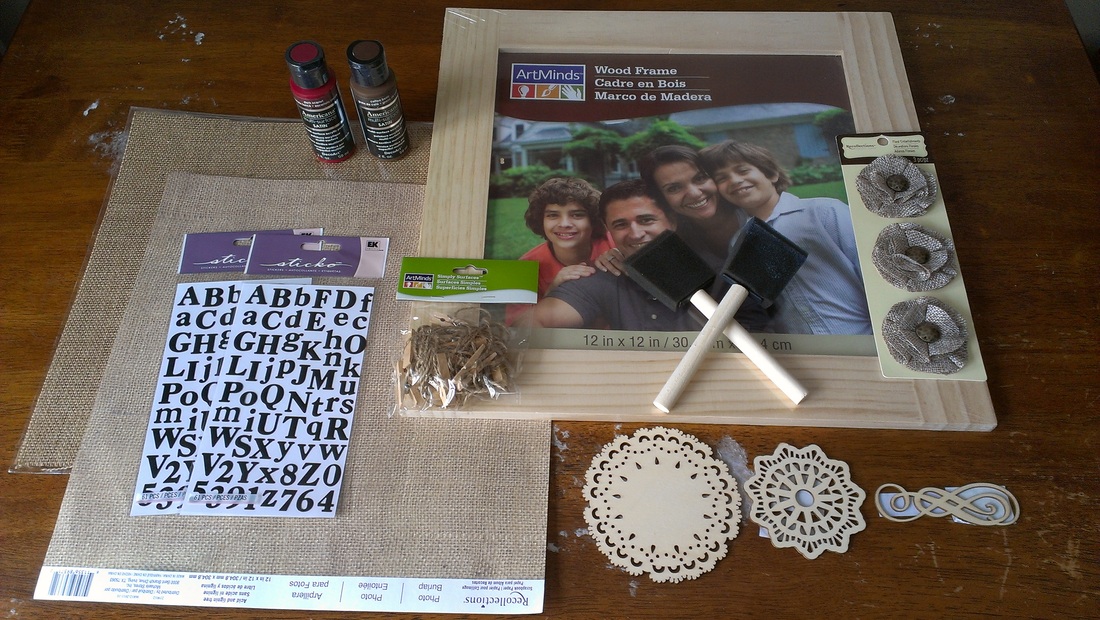
To get started you will need:
~One 12"x12" unfinished, wooden frame
~One 12"x12" piece of scrapbook paper
~Paints (in your colors of choosing), the colors I chose were Americana brand Dark Scarlet and Coffee Bean
~One to two packs of letter stickers (depending on the amount in each package of each letter)
~One 12"x12" piece of burlap (I found this one in the scrapbook paper section of my local craft store)
~One package of twine and clothespins. You could always buy these separately, I seen these and figured it would save me a step.
~Embellishments of your choosing. I used burlap flower(found in scrapbooking section), and wooden laser cuts.
~Paintbrushes; one for every color you decide to use (more on the choice of those below).

Begin by painting your frame the base color that you have chosen. The red in this picture looks really bright. Remember that when choosing a paint color it will dry approximately one shade darker than when it is wet. I love to use acrylic paints in most of my projects that require paint. It's cheap, durable, dries pretty fast, and comes in a variety of finishes. I chose to use a satin finish for this project.
I also choose to use a foam brush for most of my painting projects. The picture above shows the difference between brushing with it and smooshing (yes, that's a technical term,...my term but it's still a term) it. As long as you use brush strokes and do no apply too much pressure to the brush, your work should look pretty bubble-free. If you happen to get some, just brush over it and it will be just fine!
I also choose to use a foam brush for most of my painting projects. The picture above shows the difference between brushing with it and smooshing (yes, that's a technical term,...my term but it's still a term) it. As long as you use brush strokes and do no apply too much pressure to the brush, your work should look pretty bubble-free. If you happen to get some, just brush over it and it will be just fine!
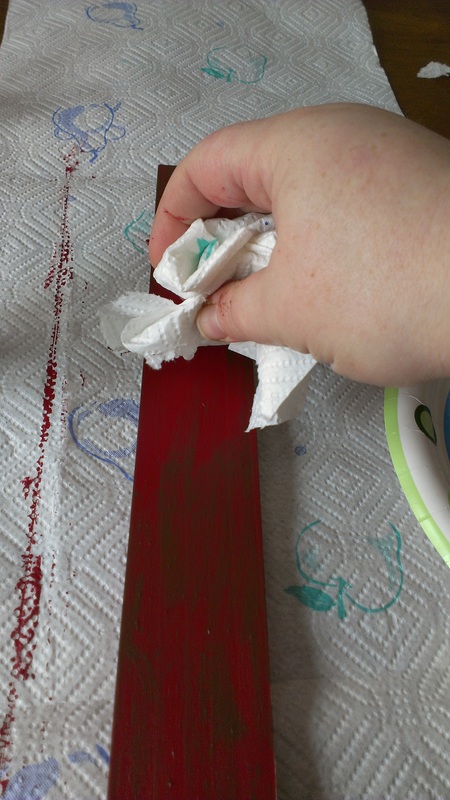
After you have applied at least two coats of your main color, you can now begin to distress your frame. You don't have to, I decided to to give my piece a little extra character. I did so by dabbing some paper towel in some of my brown paint; blotting off any large amounts and then running the paint so that is streaks randomly throughout the frame. I tried to pay special attention to the corners and edges so that it would appear as natural weathering.

While waiting for your frame to dry, paint any embellishments that you have decided to use. Originally, I was going to paint the larger medallion a dark shade of the Coffee Bean brown. But after applying only one coat, the paint appeared as almost as stain rather than a paint and I decided to go with that in stead.
Your project may change during it's course.....that's perfectly normal and how good ideas become great ideas. This piece was originally going to be a lot different that what I finished with. As long as you are happy with your finished then it doesn't matter if you have 50 idea changes!
Your project may change during it's course.....that's perfectly normal and how good ideas become great ideas. This piece was originally going to be a lot different that what I finished with. As long as you are happy with your finished then it doesn't matter if you have 50 idea changes!
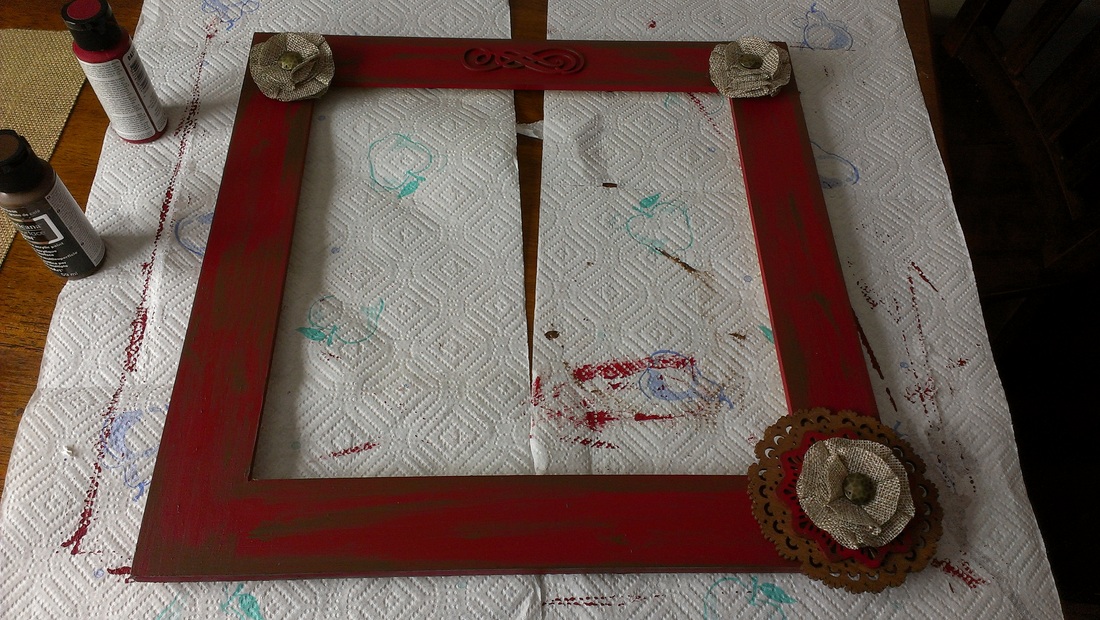
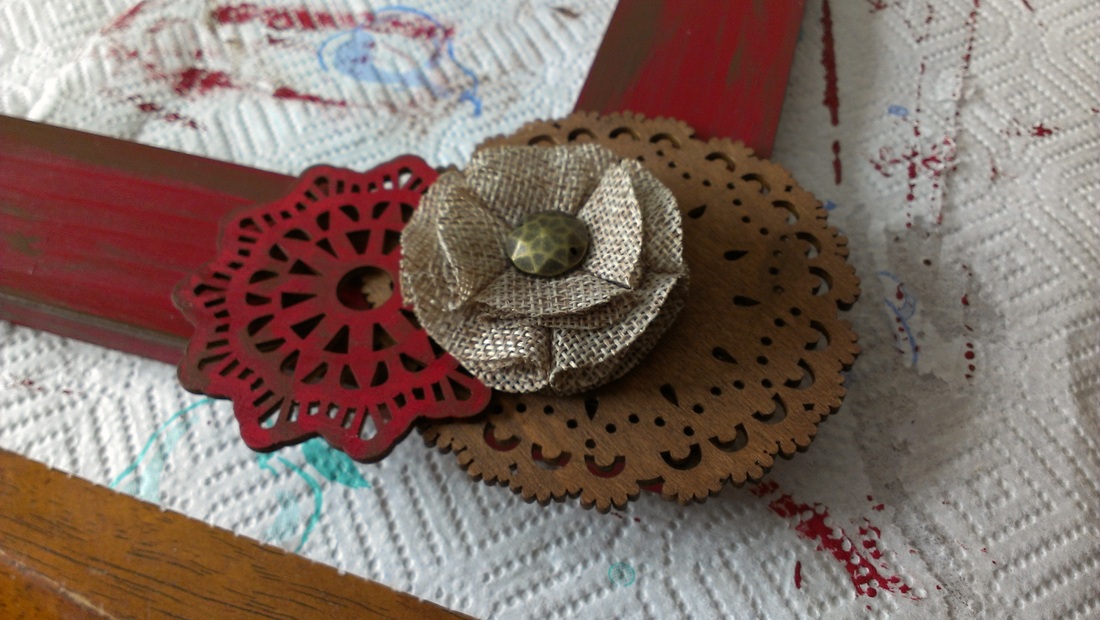
These pictures show a perfect example of how ideas change. The top picture is how I had originally intended to use the medallions, but after moving them around (and a brief family survey) the layout changed to what is seen in the bottom picture.
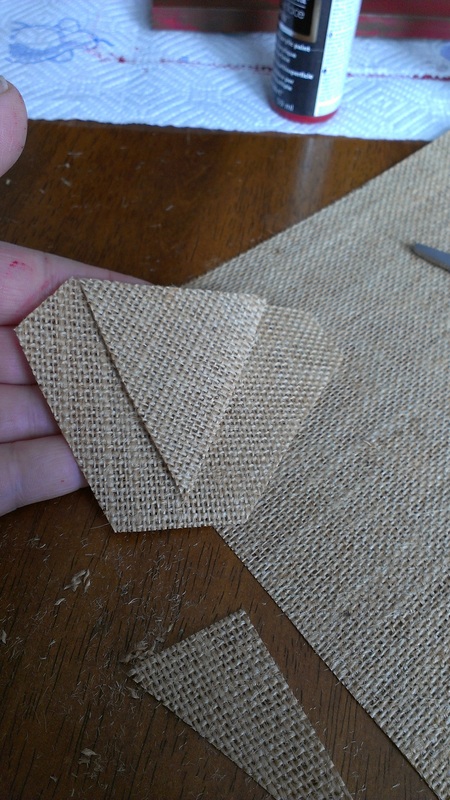
On to making the banners. Simply, cut out one a triangle to the size you need. Then lay the original out on the burlap and use this as a pattern for the rest of them.
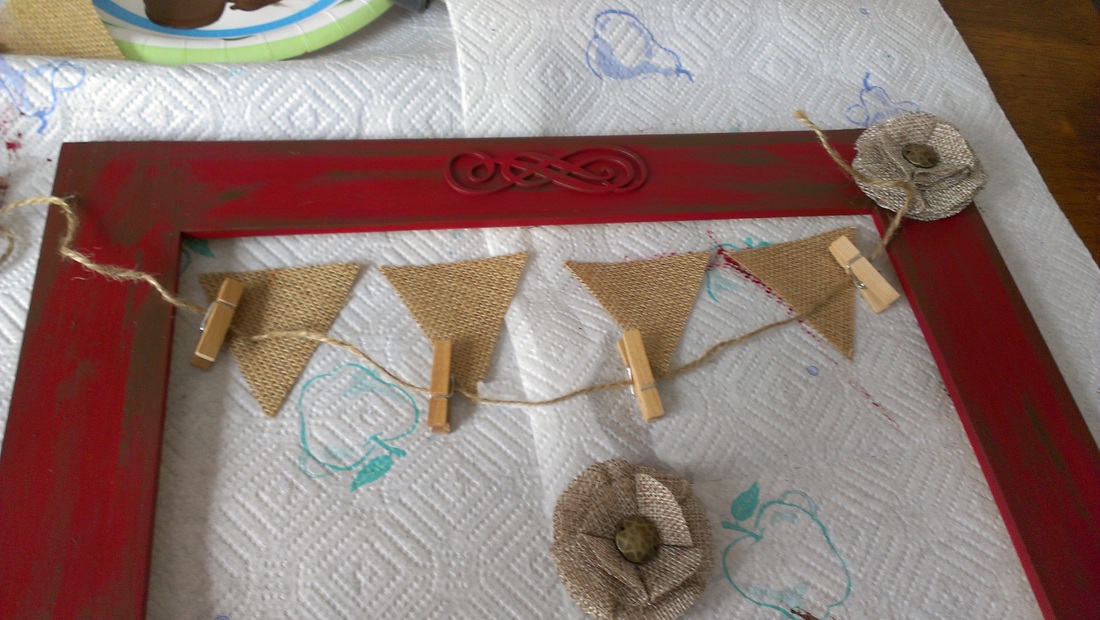
Next, lay out your banners and check for spacing. Cut your twine to the desired length; leaving a couple of inches off of each end. For the letters, I chose to use some scrapbooking stickers I had left over from a previous project. You could always stencil them on with paint or freehand your letters on (my hand is not that talented).
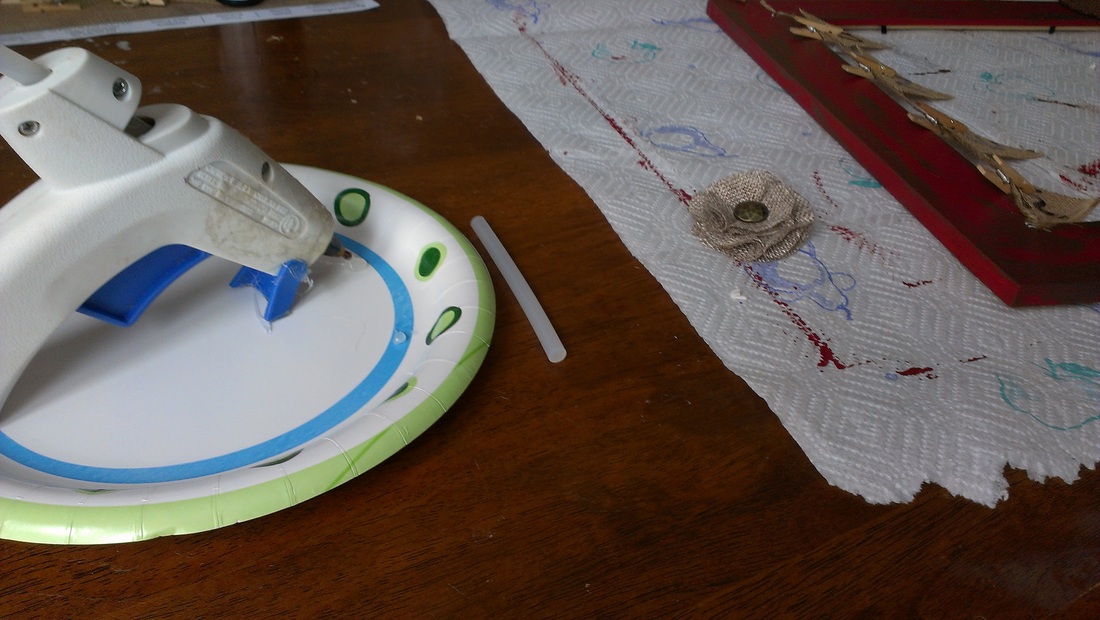
Time to break out the guns. Glue guns, that is! I love my glue gun and use it often...as you can see by all of the beautiful patina (dried up, old glue)...this baby has some miles on it!
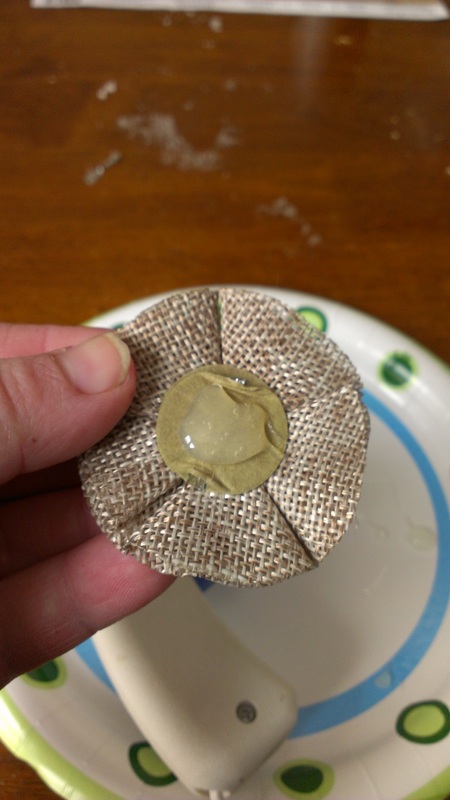
Apply a generous amount of hot glue to the back of your embellishments. This flower originally had silver twist ties coming off the back of it. I snipped them off and used it how I needed. Good example of how you can use things in unintended ways for a project.

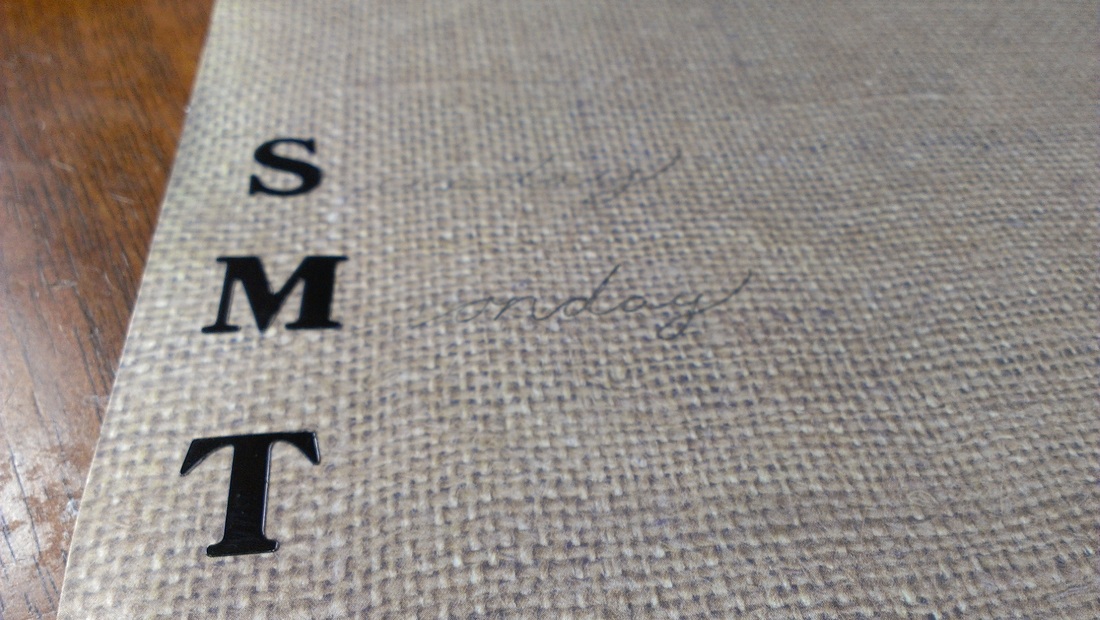
Time to letter your menus! I'll be honest, anytime I have to work with stickers it always makes me cringe. Trying to figure out spacing drives me nuts. And if you ask my fiance, he can tell you that I can't get ANYTHING to look straight! So, this is how I did it: I simply measured the amount of space that I had underneath the hanging banner on the top and divided that by 7 (days in a week), to get approximately how much space between each word. I then turn over the paper and mark the intervals that I want each word starting at. Or, you could always put down the first letter/word , last and middle. This would make it easier to space out the remaining letters/words.
*As a side note: I had originally intended to spell out the entire words with the stickers but I didn't plan out the right amount of letters and came up REALLY short. So, I had to improvise. But I was not disappointed on how it turned out in the end.
*As a side note: I had originally intended to spell out the entire words with the stickers but I didn't plan out the right amount of letters and came up REALLY short. So, I had to improvise. But I was not disappointed on how it turned out in the end.
If you plan on doing any handwriting and you have writing like mine, you may want to write it out in pencil and fix any mistakes. Then, go over your words with a marker.
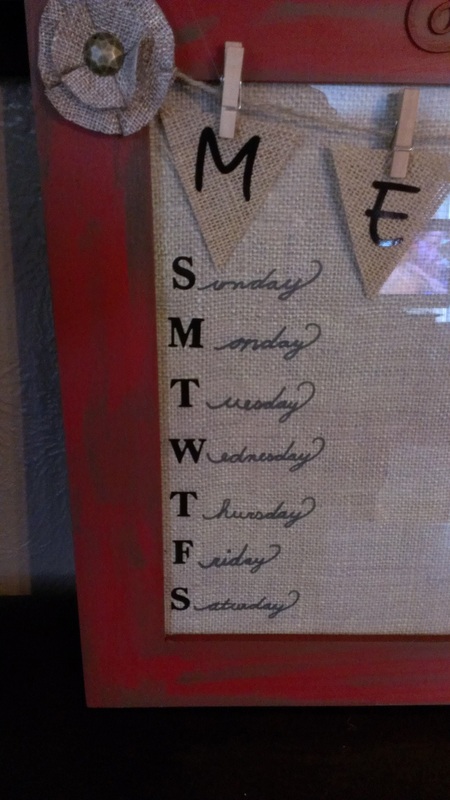
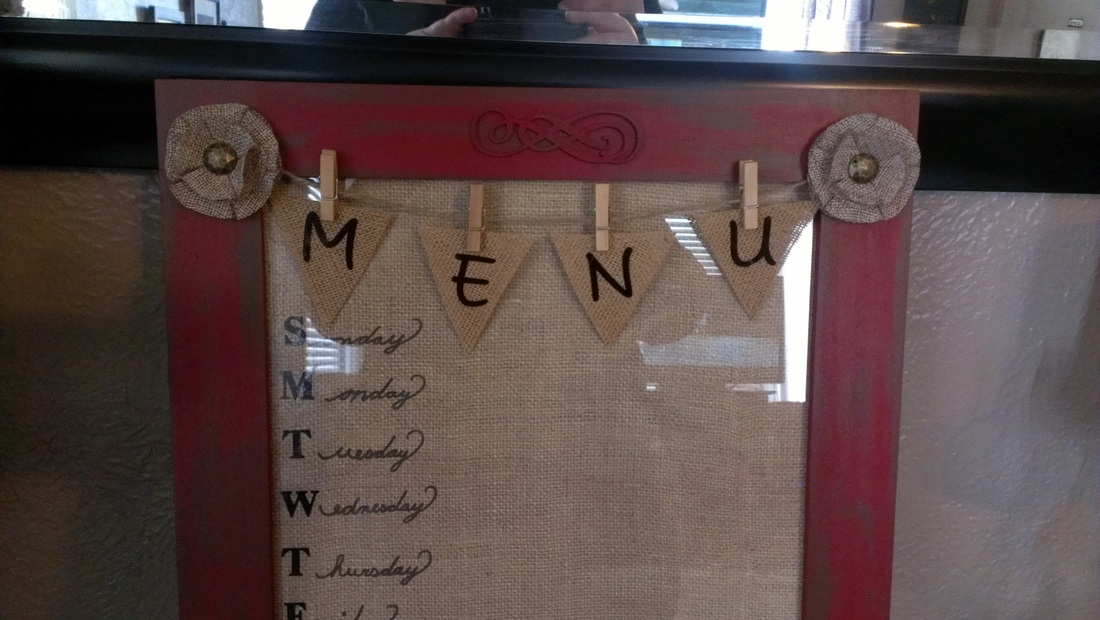
Put your finished paper and backing into your frame and VOILA! You're finished. Glass can be wrote on with a dry erase marker and can be reused. Now, hang up your finished piece and admire your handwork. Who wants a store bought piece when you can create your own and customize it any way you want.
The possibilities are endless, you can do many colors to match your own decor, textures and even different sizes to accommodate any space on your wall. With all products, and purchasing a glass front for this frame, the project came in at just over $20! You can't even buy something finished for that. So, get creative and show me what you got! Post pictures or links in the comments if you decide to take this easy project on, I would love to see what everyone else is doing!
Thanks for stopping by and craft on!

 RSS Feed