OK....I know it may SEEM a little early to be talking about Christmas. Halloween is tomorrow and Thanksgiving is still about a month away; but the fact of the matter is this: if you're a crafter OR you just wanting to learn to make your own DIY Christmas crafts; now is the time to start. One of the reasons that many of the craft stores start putting Christmas stuff out so early is that many crafters need at least a few months to start working on their gifts and sellables. Think about it. Most craft shows and bazaars start in early to mid October so many of their items need to be done before then.
Myself, I don't sell my crafts (as much as I want to, I just can't find the time to get it all done!) I do however, make my own Christmas cards, a ton of my own candy and create my own packaging for candy and gifts as well as some Christmas decorations. So, in my house, countdown to Christmas has already started! Love it, embrace it and let's start getting our Christmas craft on!
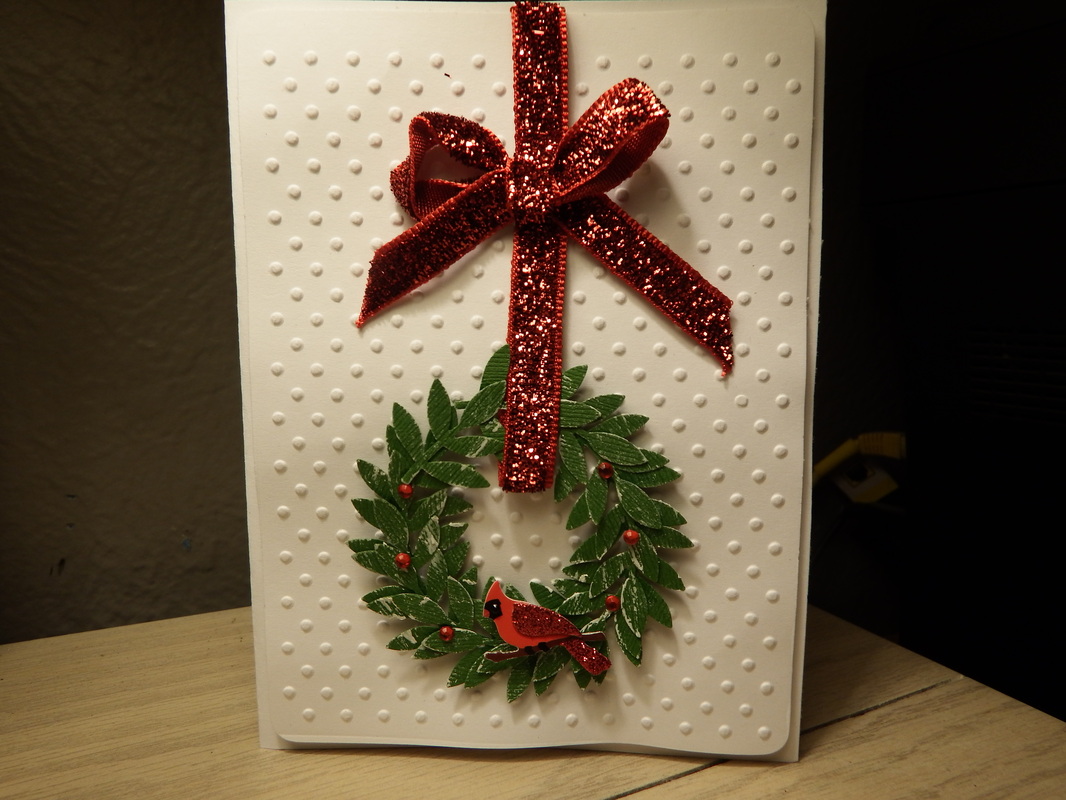
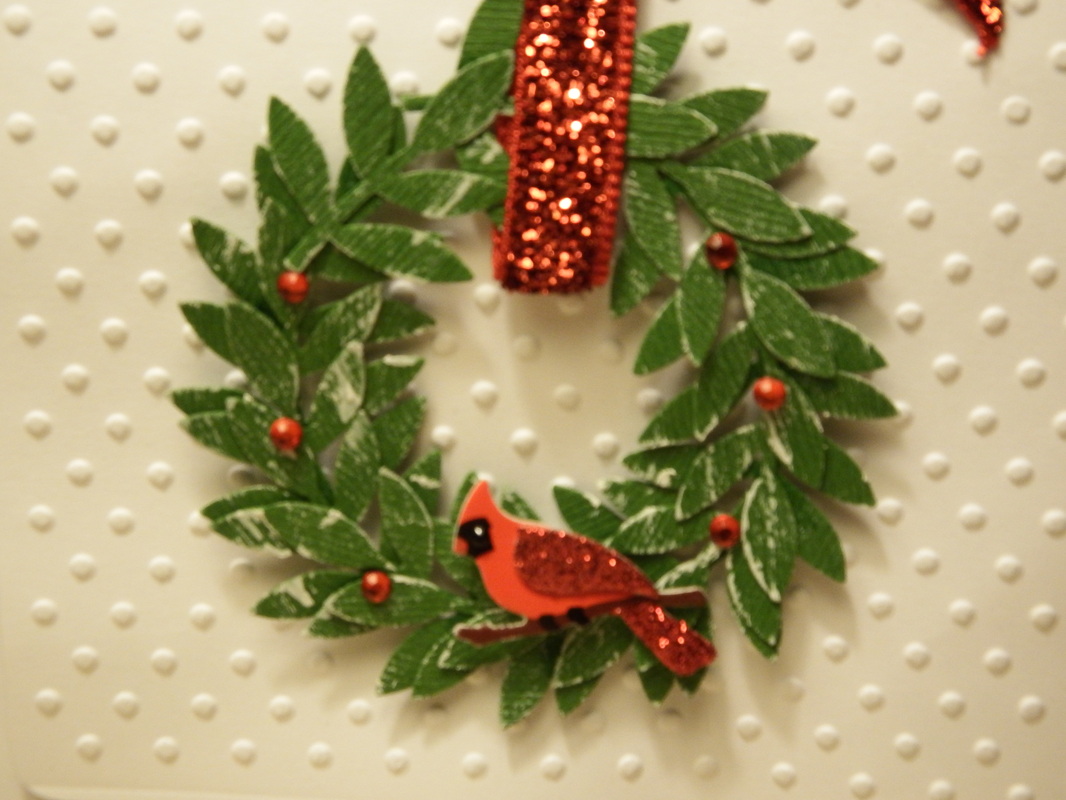
What a better way to get started than building on a skill that I had used in the previous Autumn Wreath Card! This card has some features on it that are just perfect to get your card making feet wet! With the classic green, red and white color scheme, glitter, rhinestones a cardinal, and the look of holly leaves; this card has all you need to you in the Christmas spirit!
Myself, I don't sell my crafts (as much as I want to, I just can't find the time to get it all done!) I do however, make my own Christmas cards, a ton of my own candy and create my own packaging for candy and gifts as well as some Christmas decorations. So, in my house, countdown to Christmas has already started! Love it, embrace it and let's start getting our Christmas craft on!
What a better way to get started than building on a skill that I had used in the previous Autumn Wreath Card! This card has some features on it that are just perfect to get your card making feet wet! With the classic green, red and white color scheme, glitter, rhinestones a cardinal, and the look of holly leaves; this card has all you need to you in the Christmas spirit!
To get yourself started on this card you will need:
~1 piece of each color cardstock: green & white
~Ribbon color of your choice ( love anything that glitters for Christmas. There's never enough glitter in my opinion!)
~Cardinal sticker( mine was Jolee's brand package of roughly 12)
~Rhinestones to coordinate with your ribbon color
~Martha Stewart leaf punch; HOWEVER, if you use the leaf punch from the Autumn Card and piece those all together in green, it looks really good as well.
~And of course your basics: paper trimmer, adhesive and a package of dimensional foam adhesives.
**For my polka dot background, I used an embossing folder and ran the top piece through my Cuttlebug. If you don't have one, you can simply skip this step, or buy an already embossed version through Bazzil (available at most craft stores).
The cards is pretty much a basic card with the wreath done. For the wreath, you will need to punch out several branches and piece them end-to-end, using your adhesive. I preferred my chisel tip glue pen as it makes less of a mess, but whatever you have around you should work fine. Simply adhere them leaf end to stem end until you have made a circle-shaped wreath. It doesn't have to be perfect. Remember that the side you are using will be the back of the wreath, so when you flip it over, the leaves will be visible and not the stem ends of your branches.
Fairly easy card that does require some patience to get the wreath pieced together but worth your time!
Now it's time for you to get going on your Christmas creations! Show me what you're working on and I'll include them in my blog! You never know when you may inspire someone else!
Craft on!

 RSS Feed