It's that magical time of year where midterms come along and leave way to studying but give me a break in homework! To say that it has been a long couple of weeks would be a huge understatement...BUT having a football practice end early due to rain gave me a couple of hours to actually get to crafting! I definitely needed the relaxation that I get from making cards and scrapbooking!
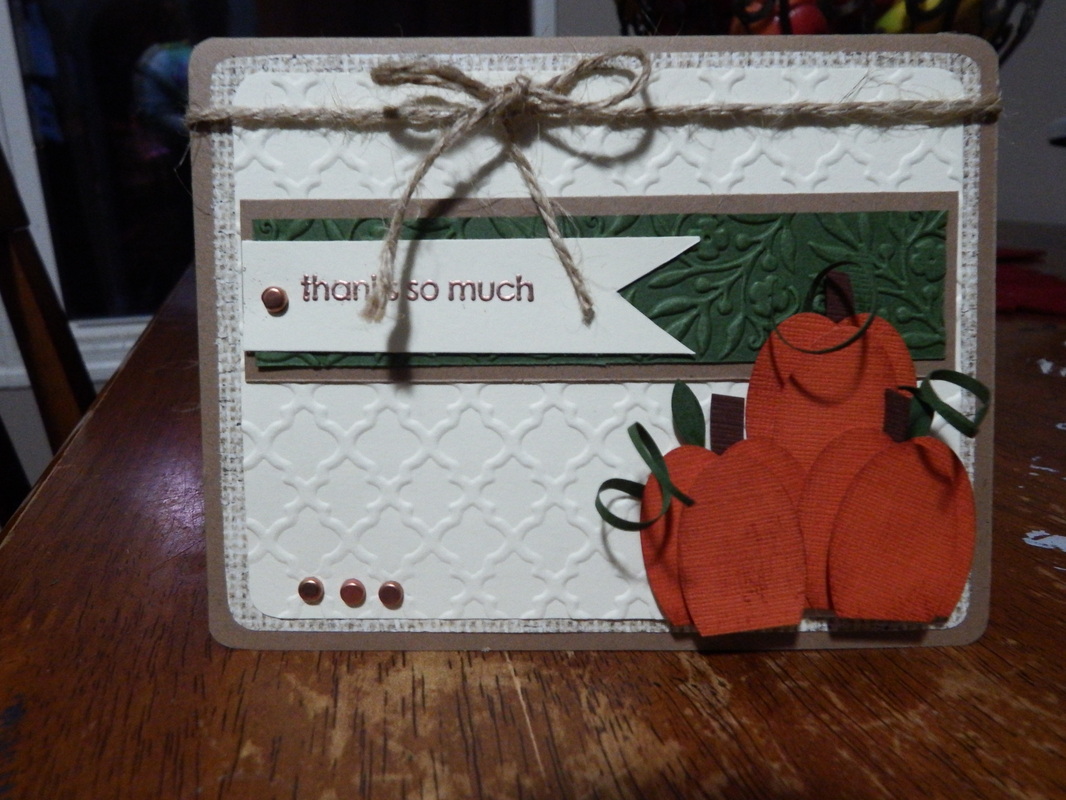
This is my take on a simple but sweet autumn thank you card; although you can certainly change sentiment to make it fit whatever occasion you need! This card is a little time consuming due to the fact that the pumpkins on the front are all punched and pieced together (I'm not a huge fan of ready-made stickers). I love how these pumpkins give another use to an oval punch that you may already have laying around. Once you learn to make these pumpkins, they would look great on a card or even in a scrapbook page! How adorable would they be for a trip to the pumpkin patch!?
Anyways, they were fairly easy to make. The hardest part for me is handling all of the small pieces. I have bigger hands so it does take some maneuvering to get them all where I want them. The embossing is done in two different textures, the sentiment is heat embossed in copper, and the pumpkins are distressed around the edges with Tim Holtz distress ink. The card is finished off with some burlap paper, twine, and some copper brads.
I can't seem to find my camera charger and was only able to get a few pictures in before my camera bit the dust; so I will try and get the pumpkin tutorial made and up just as soon as I can get a charger. Until then...I hope you like the card and it gives you some inspiration to get working on all of that fall crafting!

 RSS Feed